Toyota

Home / Toyota / Page 3

We Service and Repair all Toyota cars

  • 2019 Toyota RAV4

    Toyota RAV4
    Mileage
    54,873
    Service Date
    7/27/2022
    Services Performed
    • Check the vehicles under hood fluid levels and remove the oil fill cap and breather assemblies (where applicable) Remove the vehicles engine oil drain plug, and drain the contents of the engines oil pan or sump. Remove the filter assembly and clean the sealing surfaces of the housing for reinstallation. On cartridge equipped vehicles, replace the housing O rings and clean the debris from the housing and relief valves. Lubricate the O rings on the housing and or the filter assembly and replace the filter or element. Clean and inspect the oil drain plug gasket, and check the threads in the engines oil pan. Torque the plug to the manufacturers specification using a new gasket where required. Clean the grease zerks to remove debris, and lubricate all accessible fittings on the vehicles steering, suspension, driveline and chassis components. Check and or set the tire pressures and relearn the TPMS system where required. Fill the engine with the manufacturers specified type, grade, and viscosity engine oil and verify level after purging the new filter. Check and or top off all low fluid levels and reset the maintenance reminder system where applicable. Note. Some vehicles maintenance reminders do not take on initial reset. If your maintenance light happens to come on following an oil service, please give us a call so we can correct it.
     
    Chris S. gave our service a 5 star review on 7/28/2022
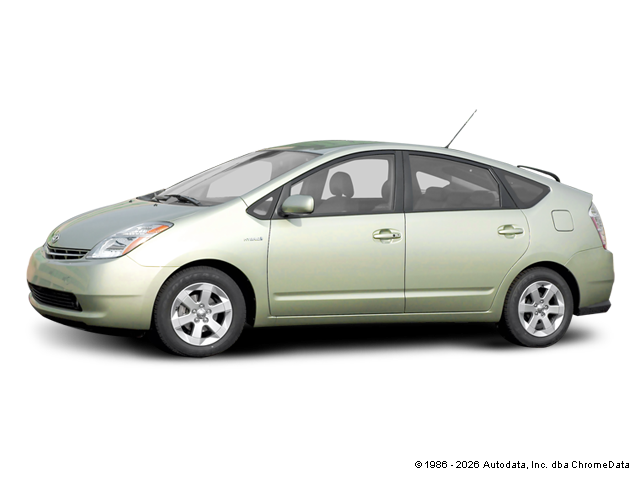
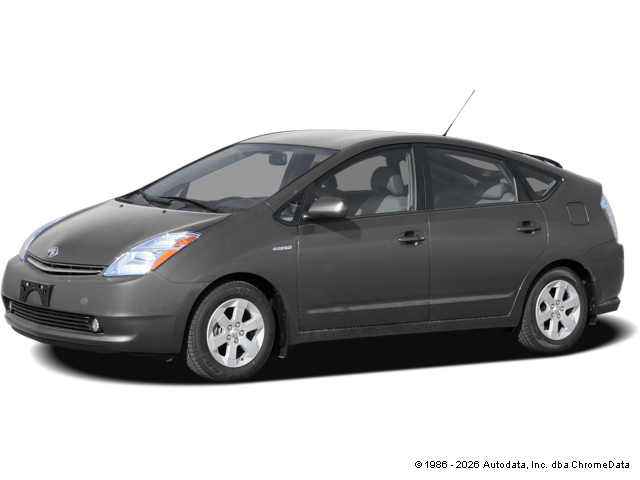
  • 2008 Toyota Prius

    Toyota Prius
    Mileage
    154,731
    Service Date
    2/10/2022
    Services Performed
    • Check the vehicles under hood fluid levels and remove the oil fill cap and breather assemblies (where applicable) Remove the vehicles engine oil drain plug, and drain the contents of the engines oil pan or sump. Remove the filter assembly and clean the sealing surfaces of the housing for reinstallation. On cartridge equipped vehicles, replace the housing O rings and clean the debris from the housing and relief valves. Lubricate the O rings on the housing and or the filter assembly and replace the filter or element. Clean and inspect the oil drain plug gasket, and check the threads in the engines oil pan. Torque the plug to the manufacturers specification using a new gasket where required. Clean the grease zerks to remove debris, and lubricate all accessible fittings on the vehicles steering, suspension, driveline and chassis components. Check and or set the tire pressures and relearn the TPMS system where required. Fill the engine with the manufacturers specified type, grade, and viscosity engine oil and verify level after purging the new filter. Check and or top off all low fluid levels and reset the maintenance reminder system where applicable. Note. Some vehicles maintenance reminders do not take on initial reset. If your maintenance light happens to come on following an oil service, please give us a call so we can correct it.
    • WATER VALVE – Remove & Replace – Flow Control Valve
    • Drain the engine coolant and flush the system in both directions with water to remove sediment. Forward and reverse flush radiator, heater core, heater control valve, and engine block. Remove the vehicles overflow container and wash out debris where necessary, and fill the reservoir to capacity with new engine coolant. Remove the engines serpentine and or V style drive belts, and clean and lubricate any idlers, pivots, or tensioner assemblies for later reassembly. Clean all mating surfaces on the engine block and timing cover to ensure a proper seal is achieved during reassembly. Install a new water pump and gasket and torque as specified. Reinstall the removed brackets, shields, deflectors, necessary to access the pump. Replace or reinstall the accessory drive belt(s), and check the tensioner assembly for proper operation. Verify belt deflection and alignment of the engines accessories, and lock all manually adjusted tensioners as required. Fill the cooling system to capacity with the specified amount and type of new engine coolant. Run the engine to operating temperature and purge the air from the system. Check the freeze point and acidity of the engine coolant to insure a proper mixture is in the system. Check to verify that the electric cooling fans are operating within their specified temperature range. Check system for leaks and road test the vehicle. Install and run a full data scan where required to insure that all engine controls are functioning as intended. Remove any associated faults from the system and recheck all fluid levels. NOTE: If the system develops an air pocket, the coolant level may decrease slightly. If this occurs, the customer may experience erratic heat output and or a warning light. If any of these symptoms occur, the customer should return to have the system checked / topped off.
     
    Robert R. gave our service a 5 star review on 2/11/2022

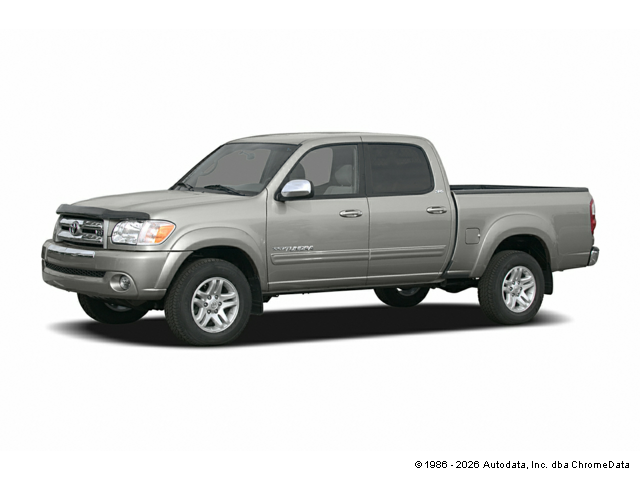
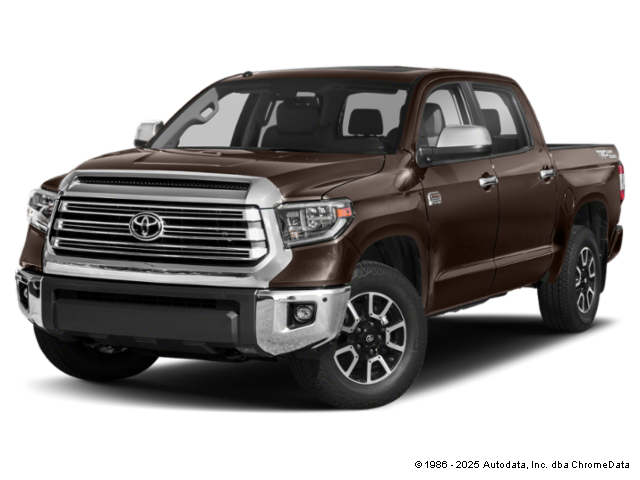
  • 2006 Toyota Tundra

    Toyota Tundra
    Mileage
    198,464
    Service Date
    1/6/2022
    Services Performed
    • (Combination) – CENTER SUPPORT BEARING – Remove & Replace
    • (Combination) – PROPELLER SHAFT FLANGE – Remove & Replace Each
    • What is Fluid Film? The destructive force of corrosion is the single greatest threat to your vehicle. Consistent exposure to a wide range of elements such as sun, rain, wind and snow can lead to rapid deterioration of metal, not only resulting in poor appearance and loss of value, but hazardous safety issues as well. Road salt and debris also kick up and cling to vehicle underbodies, eating away at metal and electrical connections. During the last few years we've noticed that we are replacing more undercarriage parts due to deterioration than any other cause. Brake lines, Fuel lines, and even frame components are requiring replacement more than ever costing our clients thousands of dollars a year in undue expenses! In searching for a solution, we looked at several different traditional 'undercoating' products, and were unimpressed with the drawbacks that they all had, as well as the high costs of application. After careful consideration, we decided on a natural, lanolin based product called Fluid Film. Marketing and advertising can make a lot of claims, so before offering it to you, we put it to the test – our tests. We are thrilled to report that it has performed at an outstanding level in every scenario we could throw at it. After almost a year of personal testing, we have decided it is, in our opinion, the safest, cheapest, easiest, and most cost effective way to protect your vehicle and is an exceptional choice for automotive applications. Fluid Film is manufactured using an intricate heating and blending process, which combines unrefined wool wax with selective polar agents and corrosion inhibitors, creating a unique, lanolin-based formulation that stops existing rust on contact. Penetrating on contact, it creates a fluid, self-healing barrier that is always active and will not chip or crack, protecting vehicle undercoating's and exposed metals for extended periods of time. Safe for use on all metals, it will stop pitting in chrome, will not harm most paints or plastic, and has exceptional lubricating properties, penetrating to stop squeaks and provide lasting lubricity for all moving parts. Electrically non-conductive, Fluid Film has a high flash point and a thin, flexible composition, making it a perfect protectant for battery terminals and electrical connections as well. Fluid Film penetrates to the base metal, providing a lasting, protective barrier from the corrosive effects of salts, calcium and sodium chloride, pesticides and fertilizers. Offering an easy "no drip" application, Fluid Film offers a cheaper and more effective alternative to the standard hard-underbody coatings. Protecting undercarriage components from metal deterioration, Fluid Film also remains soft and pliable, making it self-healing, non-drying, and impossible to crack. Fluid Film migrates to inaccessible areas, providing up to a full year of solid protection on heavily exposed areas. Included in this service, we clean the debris from the undercarriage and neutralize any remaining salts, calcium chloride, or contaminates. The existing vehicle drains in the sheet metal of the body panels will be used as an access point to apply the product, and avoid drilling access holes in the panels. (Note: Access holes are the accepted norm, and can be drilled if the customer chooses. We perform to leave the panels in factory condition unless requested otherwise.) The vehicles sheet metal components are then treated by coating the insides of the doors, hood, tail gate, rocker panels, and fenders, to give the body panels protection from corrosive material preventing deterioration from the inside out. The vehicle is then raised on a lift, and using special equipment we will thoroughly coat the inside of the chassis supports, frame, cross members, and splash shields. Lastly, the vehicle will get a general coat of the material applied to all exp
     
    Jason B. gave our service a 5 star review on 1/8/2022
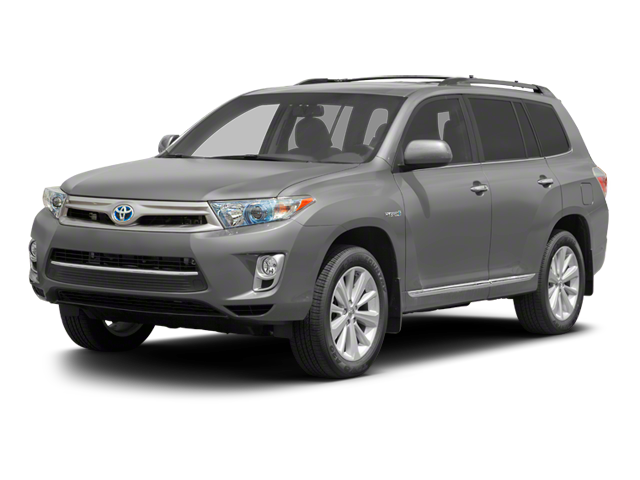
  • 2012 Toyota Highlander

    Toyota Highlander
    Mileage
    119,994
    Service Date
    11/11/2021
    Services Performed
    • Check the vehicles under hood fluid levels and remove the oil fill cap and breather assemblies (where applicable) Remove the vehicles engine oil drain plug, and drain the contents of the engines oil pan or sump. Remove the filter assembly and clean the sealing surfaces of the housing for reinstallation. On cartridge equipped vehicles, replace the housing O rings and clean the debris from the housing and relief valves. Lubricate the O rings on the housing and or the filter assembly and replace the filter or element. Clean and inspect the oil drain plug gasket, and check the threads in the engines oil pan. Torque the plug to the manufacturers specification using a new gasket where required. Clean the grease zerks to remove debris, and lubricate all accessible fittings on the vehicles steering, suspension, driveline and chassis components. Check and or set the tire pressures and relearn the TPMS system where required. Fill the engine with the manufacturers specified type, grade, and viscosity engine oil and verify level after purging the new filter. Check and or top off all low fluid levels and reset the maintenance reminder system where applicable. Note. Some vehicles maintenance reminders do not take on initial reset. If your maintenance light happens to come on following an oil service, please give us a call so we can correct it.
    • Remove the four tires from the vehicle, and clean the wheel studs, hub flanges, and the rims centric. Check the vehicles braking system components for wear, remaining brake material, and signs of pending issues. Reinstall the tires onto the vehicle in their best suited locations based on overall wear, torquing all lugs to factory specification. Inflate all tires to the manufacturers suggested pressure, and visually assess the tread for abnormal wear which may indicate a need for a wheel alignment. Reset the vehicles tire pressure monitor sensor locations where required, using the factory approved TPMS (Tire Pressure Monitoring) system, scan tool. Road test the vehicle and confirm there is no abnormal handling characteristics following the rotation. Note: Some vehicles may have a slight drift following a tire rotation. This is due to a pattern that developes in some tires due to excessive time in one location. This condition should improve as the tread conforms to the new location / alignment angle. If drifting would not improve, sometimes an alignment or a cross rotation is required.
     
    Bob W. gave our service a 5 star review on 11/11/2021
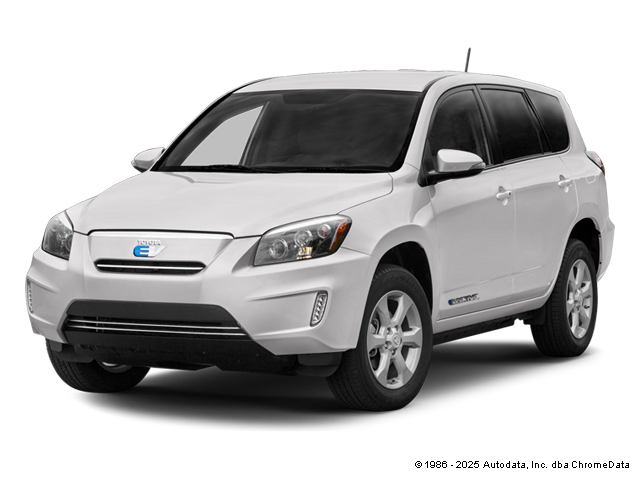
  • 2012 Toyota RAV4

    Toyota RAV4
    Mileage
    110,059
    Service Date
    11/9/2021
    Services Performed
    • Customer States That the Brakes Are Squealing.
    • Remove calipers, clips, and bracket assemblies. Remove the rear disc brake pads and clean and lubricate the caliper slides. Disassemble the rear emergency brake components, and clean and lubricate all associated hardware and linkages. Reassemble the emergency brake assemblies, and deglaze the emergency brake shoes. Set the shoe width to fit the inside diameter of the rotor assemblies, and verify the adjustment. Replace the rear brake rotors and install new brake pads. Perform all necessary system adjustments and vacuum bleed the brake calipers. Top off the master cylinder to proper level, and road test vehicle.
     
    Sue S. gave our service a 5 star review on 11/10/2021
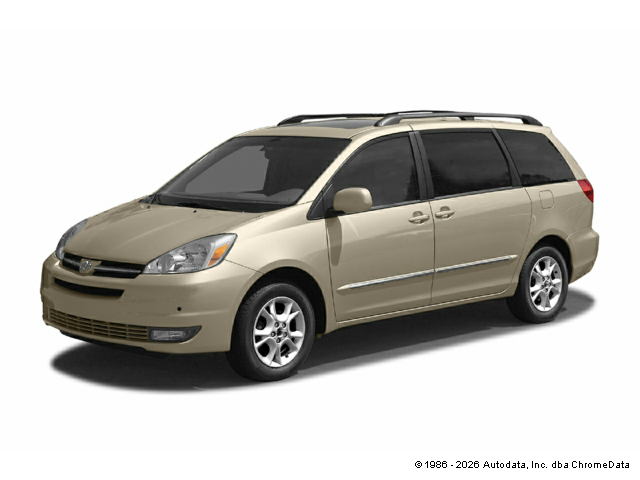
  • 2004 Toyota Sienna

    Toyota Sienna
    Mileage
    204,246
    Service Date
    11/2/2021
    Services Performed
    • Price includes mounting, balancing, flange machining, tire disposal, and resetting / relearning of the tire pressure monitoring systems data, and sensors.
    • Repair Power Steering Leak
     
    Kent S. gave our service a 5 star review on 11/2/2021
  • 2020 Toyota Tundra

    Toyota Tundra
    Mileage
    23,726
    Service Date
    10/23/2021
    Services Performed
    • Check the vehicles under hood fluid levels and remove the oil fill cap and breather assemblies (where applicable) Remove the vehicles engine oil drain plug, and drain the contents of the engines oil pan or sump. Remove the filter assembly and clean the sealing surfaces of the housing for reinstallation. On cartridge equipped vehicles, replace the housing O rings and clean the debris from the housing and relief valves. Lubricate the O rings on the housing and or the filter assembly and replace the filter or element. Clean and inspect the oil drain plug gasket, and check the threads in the engines oil pan. Torque the plug to the manufacturers specification using a new gasket where required. Clean the grease zerks to remove debris, and lubricate all accessible fittings on the vehicles steering, suspension, driveline and chassis components. Check and or set the tire pressures and relearn the TPMS system where required. Fill the engine with the manufacturers specified type, grade, and viscosity engine oil and verify level after purging the new filter. Check and or top off all low fluid levels and reset the maintenance reminder system where applicable. Note. Some vehicles maintenance reminders do not take on initial reset. If your maintenance light happens to come on following an oil service, please give us a call so we can correct it.
     
    Carl S. gave our service a 5 star review on 10/23/2021
  • 2007 Toyota Prius

    Toyota Prius
    Mileage
    113,661
    Service Date
    9/14/2021
    Services Performed
    • Check the vehicles under hood fluid levels and remove the oil fill cap and breather assemblies (where applicable) Remove the vehicles engine oil drain plug, and drain the contents of the engines oil pan or sump. Remove the filter assembly and clean the sealing surfaces of the housing for reinstallation. On cartridge equipd vehicles, replace the housing O rings and clean the debris from the housing and relief valves. Lubricate the O rings on the housing and or the filter assembly and replace the filter or element. Clean and inspect the oil drain plug gasket, and check the threads in the engines oil pan. Torque the plug to the manufacturers specification using a new gasket where required. Clean the grease zerks to remove debris, and lubricate all accessible fittings on the vehicles steering, suspension, driveline and chassis components. Check and or set the tire pressures and relearn the TPMS system where required. Fill the engine with the manufactures specified type, grade, and viscosity engine oil and verify level after purging the new filter. Check and or top off all low fluid levels and reset the maintenance reminder system where applicable. Note. Some vehicles maintenance reminders do not take on initial reset. If your maintenance light happens to come on following an oil service, please give us a call so we can correct it.
    • Remove the four tires from the vehicle, and clean the wheel studs, hub flanges, and the rims centric. Check the vehicles braking system components for wear, remaining brake material, and signs of pending issues. Reinstall the tires onto the vehicle in their best suited locations based on overall wear, torquing all lugs to factory specification. Inflate all tires to the manufacturers suggested pressure, and visually assess the tread for abnormal wear which may indicate a need for a wheel alignment. Reset the vehicles tire pressure monitor sensor locations where required, using the factory approved TPMS (Tire Pressure Monitoring) system, scan tool. Road test the vehicle and confirm there is no abnormal handling characteristics following the rotation. Note: Some vehicles may have a slight drift following a tire rotation. This is due to a pattern that developes in some tires due to excessive time in one location. This condition should improve as the tread conforms to the new location / alignment angle. If drifting would not improve, sometimes an alignment or a cross rotation is required.
     
    Jan S. gave our service a 5 star review on 9/15/2021
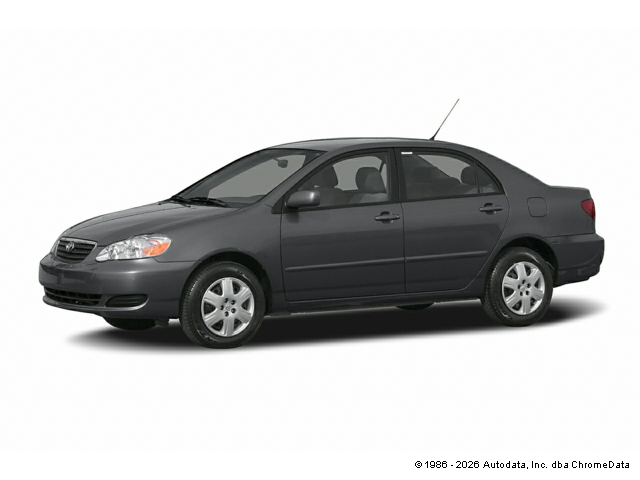
  • 2007 Toyota Corolla

    Toyota Corolla
    Mileage
    91,588
    Service Date
    7/1/2021
    Services Performed
    • Check the vehicles under hood fluid levels and remove the oil fill cap and breather assemblies (where applicable) Remove the vehicles engine oil drain plug, and drain the contents of the engines oil pan or sump. Remove the filter assembly and clean the sealing surfaces of the housing for reinstallation. On cartridge equipped vehicles, replace the housing O rings and clean the debris from the housing and relief valves. Lubricate the O rings on the housing and or the filter assembly and replace the filter or element. Clean and inspect the oil drain plug gasket, and check the threads in the engines oil pan. Torque the plug to the manufacturers specification using a new gasket where required. Clean the grease zerks to remove debris, and lubricate all accessible fittings on the vehicles steering, suspension, driveline and chassis components. Check and or set the tire pressures and relearn the TPMS system where required. Fill the engine with the manufacturers specified type, grade, and viscosity engine oil and verify level after purging the new filter. Check and or top off all low fluid levels and reset the maintenance reminder system where applicable. Note. Some vehicles maintenance reminders do not take on initial reset. If your maintenance light happens to come on following an oil service, please give us a call so we can correct it.
     
    Gail S. gave our service a 5 star review on 7/1/2021
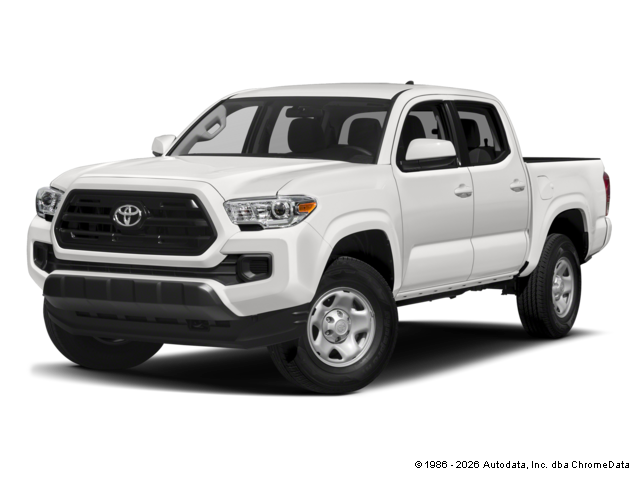
  • 2017 Toyota Tacoma

    Toyota Tacoma
    Mileage
    68,537
    Service Date
    6/16/2021
    Services Performed
    • Perform Intoxalock re calibration procedure according to intoxalock protocol. Customer is responsible for use and maintenance of intoxalock ignition interlock unit. Car Doc Inc. is not responsible for the interlock unit or any systems not disturbed during re calibration. The customers next calibration date is 08/13/2021.
     
    Robert N. gave our service a 5 star review on 6/19/2021