Toyota

Home / Toyota / Page 4

We Service and Repair all Toyota cars

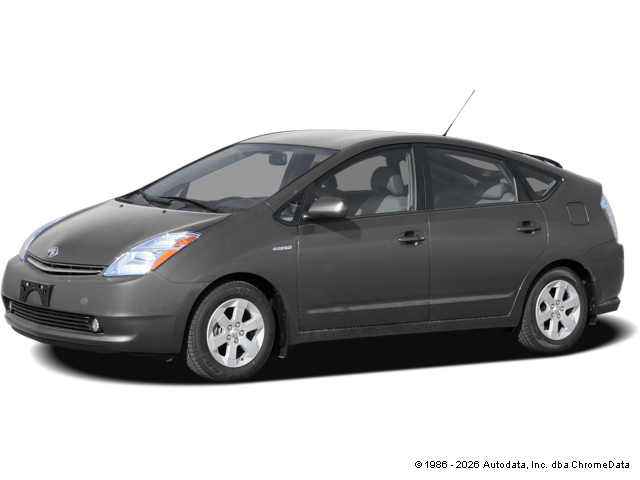
  • 2006 Toyota Prius

    Toyota Prius
    Mileage
    189,188
    Service Date
    4/13/2020
    Services Performed
    • Check the vehicles under hood fluid levels and remove the oil fill cap and breather assemblies (where applicable) Remove the vehicles engine oil drain plug, and drain the contents of the engines oil pan or sump. Remove the filter assembly and clean the sealing surfaces of the housing for reinstallation. On cartridge equipped vehicles, replace the housing O rings and clean the debris from the housing and relief valves. Lubricate the O rings on the housing and or the filter assembly and replace the filter or element. Clean and inspect the oil drain plug gasket, and check the threads in the engines oil pan. Torque the plug to the manufacturers specification using a new gasket where required. Clean the grease zerks to remove debris, and lubricate all accessible fittings on the vehicles steering, suspension, driveline and chassis components. Check and or set the tire pressures and relearn the TPMS system where required. Fill the engine with the manufacturers specified type, grade, and viscosity engine oil and verify level after purging the new filter. Check and or top off all low fluid levels and reset the maintenance reminder system where applicable. Note. Some vehicles maintenance reminders do not take on initial reset. If your maintenance light happens to come on following an oil service, please give us a call so we can correct it.
     
    Tony S. gave our service a 5 star review on 4/20/2020

  • 2013 Toyota Camry

    Toyota Camry
    Mileage
    79,846
    Service Date
    1/23/2020
    Services Performed
    • Price includes mounting, balancing, flange machining, tire disposal, and resetting / relearning of the tire pressure monitoring systems data, and sensors.
    • Road test the vehicle to verify any alignment concerns. Check and or set all tire pressures. Install targets on the vehicles wheels, and take initial alignment measurements. Adjust the factory toe angle to specification, and verify that the other alignment angles on both the front and rear axles are within specifications. Note: Shims, Eccentrics and labor for fixed alignment angles in both the front and the rear are not included.
     
    Stacey H. gave our service a 5 star review on 1/28/2020
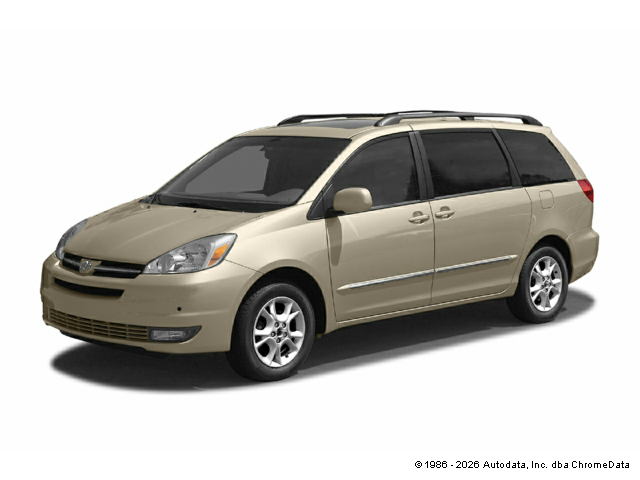
  • 2004 Toyota Sienna

    Toyota Sienna
    Mileage
    187,064
    Service Date
    11/3/2018
    Services Performed
    • Check the vehicles under hood fluid levels and remove the oil fill cap and breather assemblies (where applicable) Remove the vehicles engine oil drain plug, and drain the contents of the engines oil pan or sump. Remove the filter assembly and clean the sealing surfaces of the housing for reinstallation. On cartridge equipd vehicles, replace the housing O rings and clean the debris from the housing and relief valves. Lubricate the O rings on the housing and or the filter assembly and replace the filter or element. Clean and inspect the oil drain plug gasket, and check the threads in the engines oil pan. Torque the plug to the manufacturers specification using a new gasket where required. Clean the grease zerks to remove debris, and lubricate all accessible fittings on the vehicles steering, suspension, driveline and chassis components. Check and or set the tire pressures and relearn the TPMS system where required. Fill the engine with the manufactures specified type, grade, and viscosity engine oil and verify level after purging the new filter. Check and or top off all low fluid levels and reset the maintenance reminder system where applicable. Note. Some vehicles maintenance reminders do not take on initial reset. If your maintenance light happens to come on following an oil service, please give us a call so we can correct it.
    • Install data scanner and engine analyzer. Run tests on the fuel, ignition, and computer control systems. Retrieve fault codes from the processors memory. Codes exist in the system for P0420. Perform all necessary pin point tests checking the wiring, grounds, relays, and related circuit components to isolate the problem. The catalytic converters are worn and will eventually require replacement to correct the issue.
    • Remove and replace the power steering line clamps.
    • Check Tires and Tire Pressures.
     
    Kent S. gave our service a 5 star review on 11/6/2018
  • 2013 Toyota Prius

    Toyota Prius
    Mileage
    65,179
    Service Date
    11/2/2018
    Services Performed
    • Check the vehicles under hood fluid levels and remove the oil fill cap and breather assemblies (where applicable) Remove the vehicles engine oil drain plug, and drain the contents of the engines oil pan or sump. Remove the filter assembly and clean the sealing surfaces of the housing for reinstallation. On cartridge equipd vehicles, replace the housing O rings and clean the debris from the housing and relief valves. Lubricate the O rings on the housing and or the filter assembly and replace the filter or element. Clean and inspect the oil drain plug gasket, and check the threads in the engines oil pan. Torque the plug to the manufacturers specification using a new gasket where required. Clean the grease zerks to remove debris, and lubricate all accessible fittings on the vehicles steering, suspension, driveline and chassis components. Check and or set the tire pressures and relearn the TPMS system where required. Fill the engine with the manufactures specified type, grade, and viscosity engine oil and verify level after purging the new filter. Check and or top off all low fluid levels and reset the maintenance reminder system where applicable. Note. Some vehicles maintenance reminders do not take on initial reset. If your maintenance light happens to come on following an oil service, please give us a call so we can correct it.
     
    Jim P. gave our service a 5 star review on 11/3/2018
  • 2005 Toyota Tacoma

    Toyota Tacoma
    Mileage
    126,530
    Service Date
    5/17/2018
    Services Performed
    • The U-joint in the steering intermediate shaft assembly is binding and causing the steering to feel tight at times. The U-joint is not serviceable, the shaft assembly will be required to replace to correct this issue. Remove all interior trim panels necessary to gain access to the steering column. Disconnect battery to prevent electrical damage. Disconnect all electrical connectors to the steering column to prevent damage when lowering steering column. Remove the steering column mounting bolts and lower steering column. Remove the intermediate shaft pinch bolt and mark the steering column shaft to ensure proper positioning of replacement intermediate shaft. Remove the lower pinch bolt on the power steering rack and mark the rack shaft. Remove the existing intermediate shaft assembly and inspect the rack shaft and column shaft splines for damage. Install replacement intermediate shaft ensure proper position on the column shaft and rack shaft. Tighten the pinch bolts to specification. Raise the steering column back into position and tighten the mounting bolts to specification. Reconnect all previously disconnected electrical connectors and reinstall all interior trim panels. Reconnect the vehicles battery and install computer data scanner. Reset the vehicle air bag modules and body control modules. (An alignment will need to be performed to properly set steering angle, No Charge For Alignment.)
    • Road test the vehicle to verify any alignment concerns. Check and or set all tire pressures. Install targets on the vehicles wheels, and take initial alignment measurements. Adjust the factory toe angle to specification, and verify that the other alignment angles on both the front and rear axles are within specifications. Note: Shims, Eccentrics and labor for fixed alignment angles in both the front and the rear are not included.
    • Remove necessary shields to access the pressure ports. Install manifold gauges and monitor systems static and dynamic system pressures. Check all air conditioning electrical system components including switch, relays, and pressure switches. Add refrigerant to the system if necessary for leak testing and inject the system with luminescent dye. Check the system for refrigerant leaks using dye detection equipment. Check hoses, clamps, evaporator drain, condenser, receiver dryer, and expansion valve for leaks. No large leaks found at this time. Vehicle should be used with A/C to let the dye circulate through the system. If performance decreases the vehicle should be brought back to recheck for leaks.
     
    Brenda T. gave our service a 5 star review on 5/18/2018
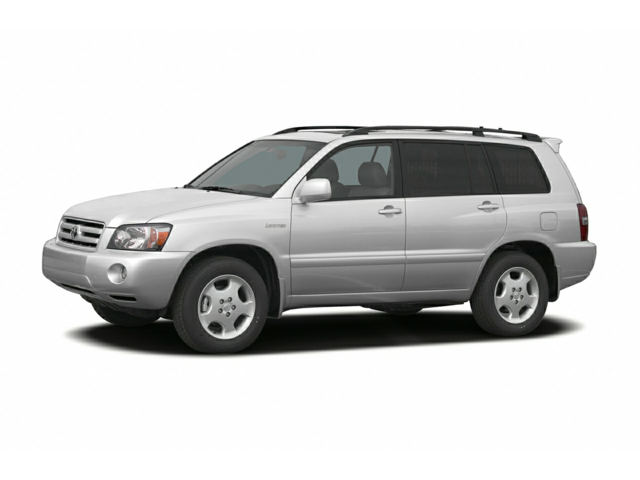
  • 2005 Toyota Highlander

    Toyota Highlander
    Mileage
    128,603
    Service Date
    5/5/2018
    Services Performed
    • The rear window has come off of the regulators track. We reinstalled the clip and raised the window to the up position. The regulator will require replacement as this has been a recurring issue.
     
    Jeff M. gave our service a 5 star review on 5/6/2018
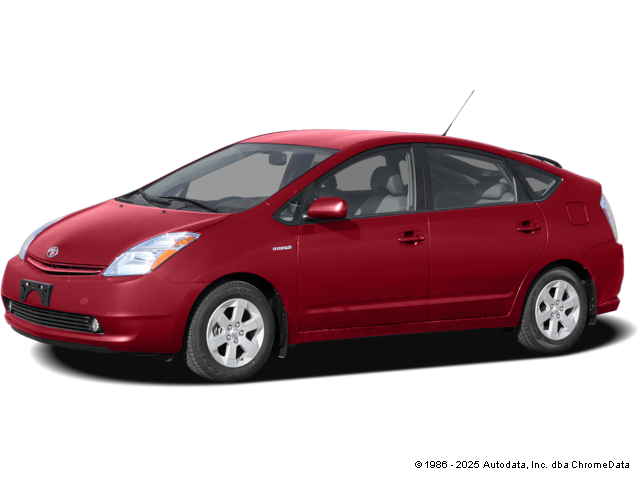
  • 2007 Toyota Prius

    Toyota Prius
    Mileage
    105,244
    Service Date
    5/1/2018
    Services Performed
    • All service requirements for the vehicle have been met. All items are current. Nothing, including oil is due at this time.
    • Check Tire Pressures
     
    Jan S. gave our service a 5 star review on 5/6/2018