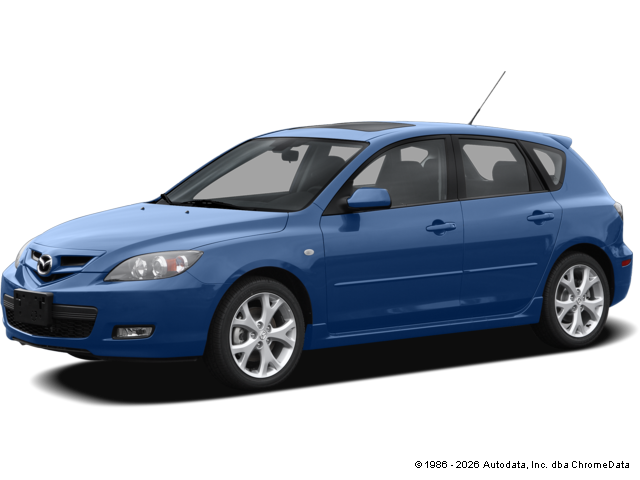
2010 Mazda CX-9

Mileage
106,122
Service Date
5/24/2022
Services Performed
- Check the headlight for proper operation and found that the passenger side HID headlight system is not working due to moisture intrusion. The headlight assembly and ballast will need to be replaced to repair the issue. Remove the front bumper assembly to gain access to the headlight hardware. Replace the headlight components and check for proper operation to confirm repairs.
- Check the vehicles under hood fluid levels and remove the oil fill cap and breather assemblies (where applicable) Remove the vehicles engine oil drain plug, and drain the contents of the engines oil pan or sump. Remove the filter assembly and clean the sealing surfaces of the housing for reinstallation. On cartridge equipped vehicles, replace the housing O rings and clean the debris from the housing and relief valves. Lubricate the O rings on the housing and or the filter assembly and replace the filter or element. Clean and inspect the oil drain plug gasket, and check the threads in the engines oil pan. Torque the plug to the manufacturers specification using a new gasket where required. Clean the grease zerks to remove debris, and lubricate all accessible fittings on the vehicles steering, suspension, driveline and chassis components. Check and or set the tire pressures and relearn the TPMS system where required. Fill the engine with the manufacturers specified type, grade, and viscosity engine oil and verify level after purging the new filter. Check and or top off all low fluid levels and reset the maintenance reminder system where applicable. Note. Some vehicles maintenance reminders do not take on initial reset. If your maintenance light happens to come on following an oil service, please give us a call so we can correct it.
- Remove the vehicles wheels in order to gain access to the outer tie rod end. Remove any components that interfere with the removal of the tie rod end (braking components, shields). Remove cotter pin and the hardware that attaches the tie rod end to the spindle and adjusting sleeve. Remove the faulty tie rod end and clean the threads in the adjusting sleeve. Apply anti-seize compound to the threads of the new tie rod end and install into the adjusting sleeve and spindle. Tighten all hardware to manufacturers specification and grease all applicable joints on the steering components and reinstall vehicles wheel. Since the steering components were disassembled, a 4 wheel alignment is needed to set vehicles steering characteristics back to original specifications.
- Road test the vehicle to verify any alignment concerns. Check and or set all tire pressures. Install targets on the vehicles wheels, and take initial alignment measurements. Adjust the factory toe angle to specification, and verify that the other alignment angles on both the front and rear axles are within specifications. Note: Shims, Eccentrics and labor for fixed alignment angles in both the front and the rear are not included.
John Z. gave our service a 5 star review on 5/24/2022


