Dodge

Home / Dodge

We Service and Repair all Dodge cars

  • 2018 Dodge Challenger
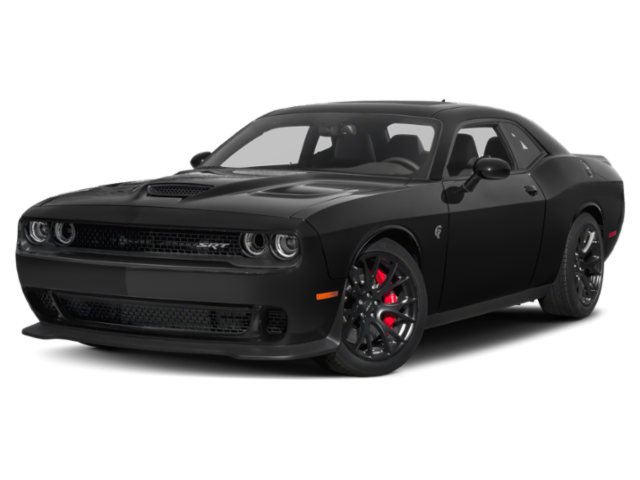
    Dodge Challenger
    Mileage
    47,514
    Service Date
    8/16/2024
    Services Performed
    • Remove any panels necessary to gain access to the shifter assembly. Remove the shifter and install a new one. Reinstall any removed panels. Clear and reset the system. Test drive the vehicle to confirm the repairs.
     
    Theresa C. gave our service a 5 star review on 8/16/2024
  • 2019 Dodge Grand Caravan

    Dodge Grand Caravan
    Mileage
    80,158
    Service Date
    8/15/2024
    Services Performed
    • Check the vehicles under hood fluid levels and remove the oil fill cap and breather assemblies (where applicable) Remove the vehicles engine oil drain plug, and drain the contents of the engines oil pan or sump. Remove the filter assembly and clean the sealing surfaces of the housing for reinstallation. On cartridge equipped vehicles, replace the housing O rings and clean the debris from the housing and relief valves. Lubricate the O rings on the housing and or the filter assembly and replace the filter or element. Clean and inspect the oil drain plug gasket, and check the threads in the engines oil pan. Torque the plug to the manufacturers specification using a new gasket where required. Clean the grease zerks to remove debris, and lubricate all accessible fittings on the vehicles steering, suspension, driveline and chassis components. Check and or set the tire pressures and relearn the TPMS system where required. Fill the engine with the manufacturers specified type, grade, and viscosity engine oil and verify level after purging the new filter. Check and or top off all low fluid levels and reset the maintenance reminder system where applicable. Note. Some vehicles maintenance reminders do not take on initial reset. If your maintenance light happens to come on following an oil service, please give us a call so we can correct it.
     
    Ed P. gave our service a 5 star review on 8/15/2024
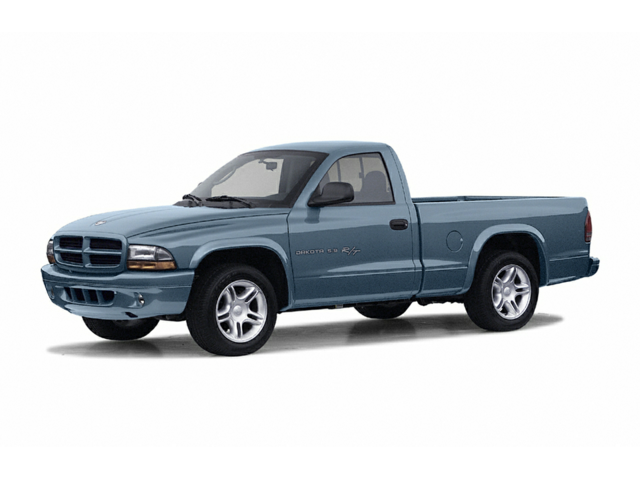
  • 2004 Dodge Dakota

    Dodge Dakota
    Mileage
    97,668
    Service Date
    3/8/2024
    Services Performed
    • OBD II and fuel cap integrity test. Pass or Fail. 30 day free retest at this facility.
     
    Donald H. gave our service a 5 star review on 3/12/2024
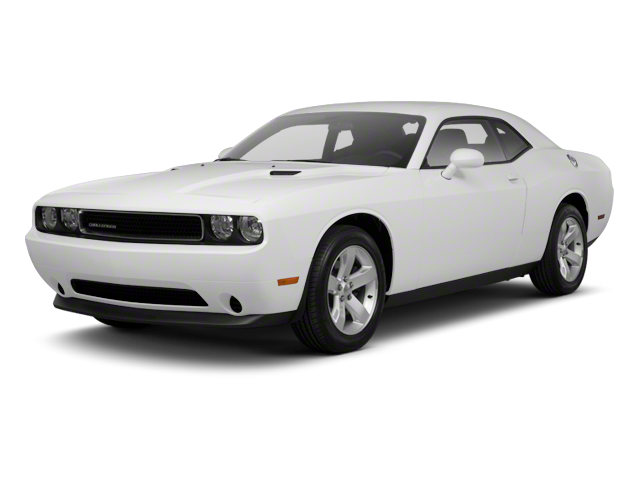
  • 2012 Dodge Challenger

    Dodge Challenger
    Mileage
    63,873
    Service Date
    1/21/2023
    Services Performed
    • Check the vehicles under hood fluid levels and remove the oil fill cap and breather assemblies (where applicable) Remove the vehicles engine oil drain plug, and drain the contents of the engines oil pan or sump. Remove the filter assembly and clean the sealing surfaces of the housing for reinstallation. On cartridge equipped vehicles, replace the housing O rings and clean the debris from the housing and relief valves. Lubricate the O rings on the housing and or the filter assembly and replace the filter or element. Clean and inspect the oil drain plug gasket, and check the threads in the engines oil pan. Torque the plug to the manufacturers specification using a new gasket where required. Clean the grease zerks to remove debris, and lubricate all accessible fittings on the vehicles steering, suspension, driveline and chassis components. Check and or set the tire pressures and relearn the TPMS system where required. Fill the engine with the manufacturers specified type, grade, and viscosity engine oil and verify level after purging the new filter. Check and or top off all low fluid levels and reset the maintenance reminder system where applicable. Note. Some vehicles maintenance reminders do not take on initial reset. If your maintenance light happens to come on following an oil service, please give us a call so we can correct it.
     
    Eric S. gave our service a 5 star review on 1/21/2023
  • 2019 Dodge Grand Caravan

    Dodge Grand Caravan
    Mileage
    43,883
    Service Date
    12/20/2022
    Services Performed
    • Check the vehicles under hood fluid levels and remove the oil fill cap and breather assemblies (where applicable) Remove the vehicles engine oil drain plug, and drain the contents of the engines oil pan or sump. Remove the filter assembly and clean the sealing surfaces of the housing for reinstallation. On cartridge equipped vehicles, replace the housing O rings and clean the debris from the housing and relief valves. Lubricate the O rings on the housing and or the filter assembly and replace the filter or element. Clean and inspect the oil drain plug gasket, and check the threads in the engines oil pan. Torque the plug to the manufacturers specification using a new gasket where required. Clean the grease zerks to remove debris, and lubricate all accessible fittings on the vehicles steering, suspension, driveline and chassis components. Check and or set the tire pressures and relearn the TPMS system where required. Fill the engine with the manufacturers specified type, grade, and viscosity engine oil and verify level after purging the new filter. Check and or top off all low fluid levels and reset the maintenance reminder system where applicable. Note. Some vehicles maintenance reminders do not take on initial reset. If your maintenance light happens to come on following an oil service, please give us a call so we can correct it.
     
    Ed P. gave our service a 5 star review on 12/20/2022
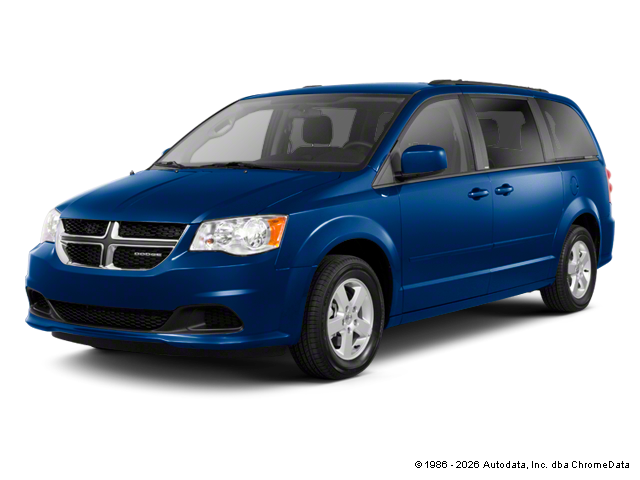
  • 2011 Dodge Grand Caravan

    Dodge Grand Caravan
    Mileage
    81,336
    Service Date
    8/19/2022
    Services Performed
    • Remove all necessary accessories and door panel fasteners in order to remove the door panel to access the power window components. Drill the rivets or unbolt regulator assembly and discard. Clean and tighten all terminal connections to ensure proper mating between the replacement motor and connector. Apply di-electric grease to the connections to prevent moisture build up and position the new regulator and motor assembly into the door. Fasten the regulator to the door frame and check for proper alignment. Lubricate the internal door components (linkages, actuators, and window tracks), and reinstall all components back to original configuration setting travel limits, and clearance the internal harnesses. Test to verify proper operation of the window, and all door related functions to confirm repairs.
     
    Stanton B. gave our service a 5 star review on 8/19/2022
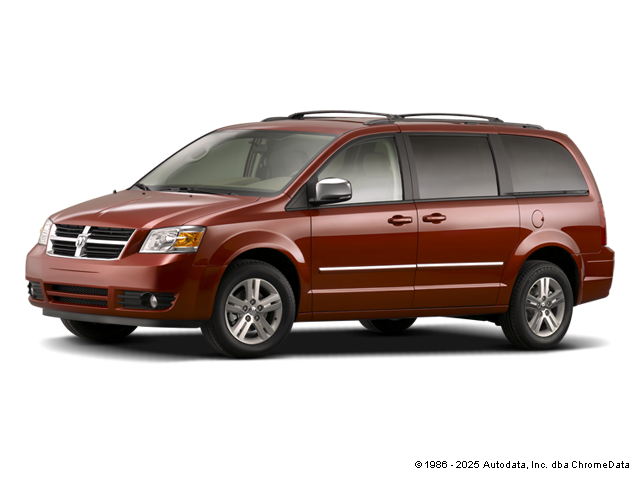
  • 2008 Dodge Grand Caravan

    Dodge Grand Caravan
    Mileage
    77,287
    Service Date
    8/19/2022
    Services Performed
    • Check the vehicles under hood fluid levels and remove the oil fill cap and breather assemblies (where applicable) Remove the vehicles engine oil drain plug, and drain the contents of the engines oil pan or sump. Remove the filter assembly and clean the sealing surfaces of the housing for reinstallation. On cartridge equipped vehicles, replace the housing O rings and clean the debris from the housing and relief valves. Lubricate the O rings on the housing and or the filter assembly and replace the filter or element. Clean and inspect the oil drain plug gasket, and check the threads in the engines oil pan. Torque the plug to the manufacturers specification using a new gasket where required. Clean the grease zerks to remove debris, and lubricate all accessible fittings on the vehicles steering, suspension, driveline and chassis components. Check and or set the tire pressures and relearn the TPMS system where required. Fill the engine with the manufacturers specified type, grade, and viscosity engine oil and verify level after purging the new filter. Check and or top off all low fluid levels and reset the maintenance reminder system where applicable. Note. Some vehicles maintenance reminders do not take on initial reset. If your maintenance light happens to come on following an oil service, please give us a call so we can correct it.
     
    Ruby B. gave our service a 5 star review on 8/19/2022
  • 2004 Dodge Dakota

    Dodge Dakota
    Mileage
    60,781
    Service Date
    4/14/2022
    Services Performed
    • Customer States That the Passenger Side Window Is Inoperative With the Passenger Side Switch.
    • Install data scanner and engine analyzer. Run tests on the body controller and anti lock braking system computer control units. Remove fault codes from the processors memory. Codes exist in the system for (27) intermittent signal from left front sensor. Perform all necessary pin point tests checking the wiring, grounds, relays, and related circuit components. The issue is intermittent and is not causing an issue at this time, although if the light comes back on the vehicle should be returned for additional testing.
    • Replace the Drivers Side Front Door Lock Actuator/Latch Assembly
    • What is Fluid Film? The destructive force of corrosion is the single greatest threat to your vehicle. Consistent exposure to a wide range of elements such as sun, rain, wind and snow can lead to rapid deterioration of metal, not only resulting in poor appearance and loss of value, but hazardous safety issues as well. Road salt and debris also kick up and cling to vehicle underbodies, eating away at metal and electrical connections. During the last few years we've noticed that we are replacing more undercarriage parts due to deterioration than any other cause. Brake lines, Fuel lines, and even frame components are requiring replacement more than ever costing our clients thousands of dollars a year in undue expenses! In searching for a solution, we looked at several different traditional 'undercoating' products, and were unimpressed with the drawbacks that they all had, as well as the high costs of application. After careful consideration, we decided on a natural, lanolin based product called Fluid Film. Marketing and advertising can make a lot of claims, so before offering it to you, we put it to the test – our tests. We are thrilled to report that it has performed at an outstanding level in every scenario we could throw at it. After almost a year of personal testing, we have decided it is, in our opinion, the safest, cheapest, easiest, and most cost effective way to protect your vehicle and is an exceptional choice for automotive applications. Fluid Film is manufactured using an intricate heating and blending process, which combines unrefined wool wax with selective polar agents and corrosion inhibitors, creating a unique, lanolin-based formulation that stops existing rust on contact. Penetrating on contact, it creates a fluid, self-healing barrier that is always active and will not chip or crack, protecting vehicle undercoating's and exposed metals for extended periods of time. Safe for use on all metals, it will stop pitting in chrome, will not harm most paints or plastic, and has exceptional lubricating properties, penetrating to stop squeaks and provide lasting lubricity for all moving parts. Electrically non-conductive, Fluid Film has a high flash point and a thin, flexible composition, making it a perfect protectant for battery terminals and electrical connections as well. Fluid Film penetrates to the base metal, providing a lasting, protective barrier from the corrosive effects of salts, calcium and sodium chloride, pesticides and fertilizers. Offering an easy "no drip" application, Fluid Film offers a cheaper and more effective alternative to the standard hard-underbody coatings. Protecting undercarriage components from metal deterioration, Fluid Film also remains soft and pliable, making it self-healing, non-drying, and impossible to crack. Fluid Film migrates to inaccessible areas, providing up to a full year of solid protection on heavily exposed areas. Included in this service, we clean the debris from the undercarriage and neutralize any remaining salts, calcium chloride, or contaminates. The existing vehicle drains in the sheet metal of the body panels will be used as an access point to apply the product, and avoid drilling access holes in the panels. (Note: Access holes are the accepted norm, and can be drilled if the customer chooses. We perfo
     
    Donald H. gave our service a 5 star review on 4/18/2022
  • 2009 Dodge Challenger

    Dodge Challenger
    Mileage
    21,828
    Service Date
    6/28/2021
    Services Performed
    • Check the vehicles under hood fluid levels and remove the oil fill cap and breather assemblies (where applicable) Remove the vehicles engine oil drain plug, and drain the contents of the engines oil pan or sump. Remove the filter assembly and clean the sealing surfaces of the housing for reinstallation. On cartridge equipped vehicles, replace the housing O rings and clean the debris from the housing and relief valves. Lubricate the O rings on the housing and or the filter assembly and replace the filter or element. Clean and inspect the oil drain plug gasket, and check the threads in the engines oil pan. Torque the plug to the manufacturers specification using a new gasket where required. Clean the grease zerks to remove debris, and lubricate all accessible fittings on the vehicles steering, suspension, driveline and chassis components. Check and or set the tire pressures and relearn the TPMS system where required. Fill the engine with the manufacturers specified type, grade, and viscosity engine oil and verify level after purging the new filter. Check and or top off all low fluid levels and reset the maintenance reminder system where applicable. Note. Some vehicles maintenance reminders do not take on initial reset. If your maintenance light happens to come on following an oil service, please give us a call so we can correct it.
     
    Linda H. gave our service a 5 star review on 6/28/2021
  • 2005 Dodge Stratus

    Dodge Stratus
    Mileage
    93,755
    Service Date
    2/7/2020
    Services Performed
    • A camshaft belt will need to be installed to time the engine and properly diagnose the severity of damage to the engine and its supporting components. The vehicle and engine components passed all pre assembly testing. None of the vehicles systems have been serviced and all components removed were original. See below for repair procedures required to get the engine running as well as service items required to get the vehicle back into safe, reliable condition.
    • Clean the debris from the engines lower intake, and remove all ignition coil assemblies and spark plugs. Clean the exterior of the coil assembly, and plug bores to keep debris from entering the engine or its components. Remove all ignition wires and spark plugs. Run thread chaser through the cylinder head to remove debris and clean the spark plug hole threads. Set the new plug gap to the manufacturers specification and apply anti-seize compound to the plug threads. Install the new spark plugs and torque them to specification. Remove the ignition wires from the coil pack and clean coil pack connections. Run new ignition wires using dielectric grease on the terminal and boot ends. Remove air filter element and clean the inside of the air inlet box. Reassemble air box and remove fuel lines at the filter assembly. Clean fuel line ends and replace o-rings, clips or sealing washers and install new fuel filter where applicable. Perform full injection system service using the Motor Vac System… The MotorVac Complete Fuel System Service is a revolutionary procedure that uses a specially designed machine that hooks directly to the vehicle. Utilizing a special detergent (which will not damage your vehicles sophisticated fuel system components) the equipment removes the dirt, varnish, and carbon deposits that normally build up on the intake valves, fuel injectors, and combustion surfaces. The air intake plenum, air charge, air bypass valve, and throttle body are also thoroughly cleaned during this process. In addition, oxygen sensors, and catalytic converters are cleaned reducing harmful exhaust emissions. All fuel system components are thoroughly tested as part of this service; Fuel pressure (static, and dynamic) regulator operation, leak down (at both injector assemblies and pump shuttle valve) and volume tests to verify that your fuel system is operating properly. Base idle adjustment is included where applicable. Install data scanner and run engine to operating temperature to verify that all computer controls are operating within parameters. Road test vehicle and verify static ignition timing and applicable fluid levels.
    • Drain the engine coolant and flush the system in both directions with water to remove sediment. Forward and reverse flush radiator, heater core, heater control valve, and engine block. Remove the vehicles overflow container and wash out debris where necessary, and fill the reservoir to capacity with new engine coolant. Remove the engines serpentine and or V style drive belts, and clean and lubricate any idlers, pivots, or tensioner assemblies for later reassembly. Remove the emissions harnesses, as well as the hoses, brackets, wiring harness bundles, and the front belt drive engine accessories. Remove the engines camshaft covers, and lower crankshaft pulley. Rotate the engine to align and verify the timing marks. If the marks are off, or the belt has failed, compression testing, and cylinder leak testing is often required to verify that the engine was not damaged due to piston to valve contact following the failure of the belt. Otherwise, all internal components are cleaned and disassembled, with the engine held in time using the factory approved holding fixture(s). Remove the timing components, and clean all of the pulley cogs, pivots, tensioners, idlers, and deflectors. Lubricate the tensioner assembly where required and set aside for installation. Remove the front radiator support, fan shrouds, and electric fan modules where required. Set the camshaft timing
     
    Steve S. gave our service a 5 star review on 2/8/2020