Honda

Home / Honda / Page 3

We Service and Repair all Honda cars

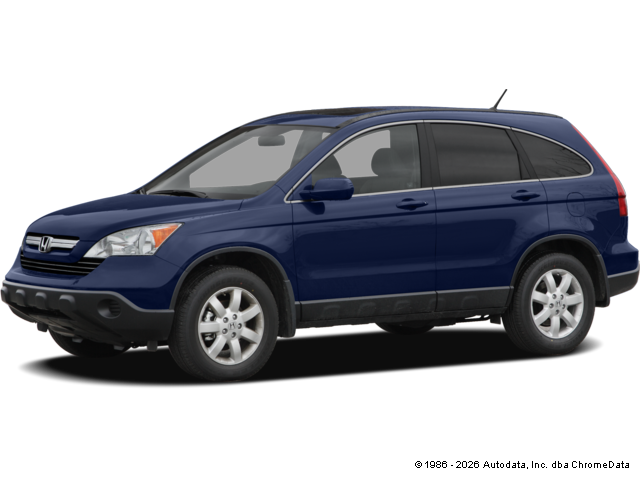
  • 2008 Honda CR-V

    Honda CR-V
    Mileage
    200,774
    Service Date
    8/31/2021
    Services Performed
    • Check the vehicles under hood fluid levels and remove the oil fill cap and breather assemblies (where applicable) Remove the vehicles engine oil drain plug, and drain the contents of the engines oil pan or sump. Remove the filter assembly and clean the sealing surfaces of the housing for reinstallation. On cartridge equipped vehicles, replace the housing O rings and clean the debris from the housing and relief valves. Lubricate the O rings on the housing and or the filter assembly and replace the filter or element. Clean and inspect the oil drain plug gasket, and check the threads in the engines oil pan. Torque the plug to the manufacturers specification using a new gasket where required. Clean the grease zerks to remove debris, and lubricate all accessible fittings on the vehicles steering, suspension, driveline and chassis components. Check and or set the tire pressures and relearn the TPMS system where required. Fill the engine with the manufacturers specified type, grade, and viscosity engine oil and verify level after purging the new filter. Check and or top off all low fluid levels and reset the maintenance reminder system where applicable. Note. Some vehicles maintenance reminders do not take on initial reset. If your maintenance light happens to come on following an oil service, please give us a call so we can correct it.
    • Price includes mounting, balancing, valve stems, flange machining, and tire disposal.
    • Road test the vehicle to verify any alignment concerns. Check and or set all tire pressures. Install targets on the vehicles wheels, and take initial alignment measurements. Adjust the factory toe angle to specification, and verify that the other alignment angles on both the front and rear axles are within specifications. Note: Shims, Eccentrics and labor for fixed alignment angles in both the front and the rear are not included.
    • Remove calipers, clips, and bracket assemblies. Remove the rear disc brake pads and clean and lubricate the caliper slides. Disassemble the rear emergency brake components, and clean and lubricate all associated hardware and linkages. Reassemble the emergency brake assemblies, and deglaze the emergency brake shoes. Set the shoe width to fit the inside diameter of the rotor assemblies, and verify the adjustment. Machine, Deglaze, or Replace the rear brake rotors and install new brake pads. Perform all necessary system adjustments and vacuum bleed the brake calipers. Top off the master cylinder to proper level, and road test vehicle.
    • Remove calipers, clips, and bracket assemblies. Remove the <<<>>> disc brake pads and clean and lubricate the caliper slides. Deglaze, Machine, or Replace the <<<<>>>> brake rotors and install new brake pads. Perform all necessary system adjustments and vacuum bleed brake calipers. Top off master cylinder to proper level, and road test vehicle.
     
    Walt A. gave our service a 5 star review on 8/31/2021

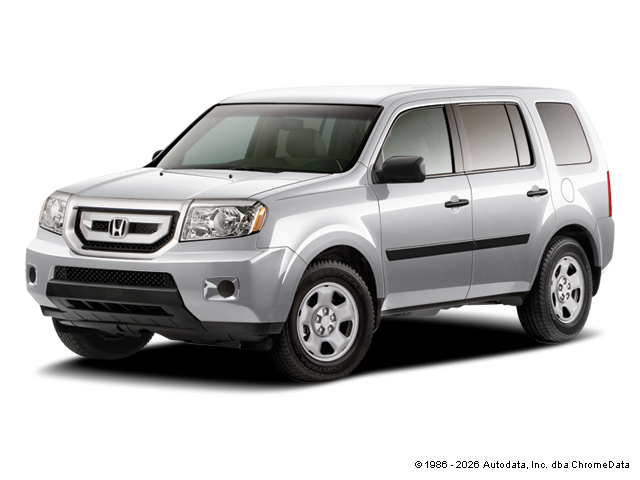
  • 2010 Honda Pilot

    Honda Pilot
    Mileage
    276,003
    Service Date
    8/10/2021
    Services Performed
    • Check All Braking Components For Wear.
    • Remove calipers, clips, and bracket assemblies. Remove the rear disc brake pads and clean and lubricate the caliper slides. Disassemble the rear emergency brake components, and clean and lubricate all associated hardware and linkages. Reassemble the emergency brake assemblies, and deglaze the emergency brake shoes. Set the shoe width to fit the inside diameter of the rotor assemblies, and verify the adjustment. Machine, Deglaze, or Replace the rear brake rotors and install new brake pads. Perform all necessary system adjustments and vacuum bleed the brake calipers. Top off the master cylinder to proper level, and road test vehicle. NOTE: The front brake components were cleaned and lubricated during the service as well to prevent any issues.
     
    Tom S. gave our service a 5 star review on 8/10/2021
  • 2008 Honda CR-V

    Honda CR-V
    Mileage
    194,765
    Service Date
    1/29/2021
    Services Performed
    • Check the vehicles under hood fluid levels and remove the oil fill cap and breather assemblies (where applicable) Remove the vehicles engine oil drain plug, and drain the contents of the engines oil pan or sump. Remove the filter assembly and clean the sealing surfaces of the housing for reinstallation. On cartridge equipped vehicles, replace the housing O rings and clean the debris from the housing and relief valves. Lubricate the O rings on the housing and or the filter assembly and replace the filter or element. Clean and inspect the oil drain plug gasket, and check the threads in the engines oil pan. Torque the plug to the manufacturers specification using a new gasket where required. Clean the grease zerks to remove debris, and lubricate all accessible fittings on the vehicles steering, suspension, driveline and chassis components. Check and or set the tire pressures and relearn the TPMS system where required. Fill the engine with the manufacturers specified type, grade, and viscosity engine oil and verify level after purging the new filter. Check and or top off all low fluid levels and reset the maintenance reminder system where applicable. Note. Some vehicles maintenance reminders do not take on initial reset. If your maintenance light happens to come on following an oil service, please give us a call so we can correct it.
     
    Walt A. gave our service a 5 star review on 1/29/2021
  • 2005 Honda Pilot

    Honda Pilot
    Mileage
    219,540
    Service Date
    1/23/2021
    Services Performed
    • Check for the source of the leak and found that there were multiple leaks. The sources of the leaks are from the power steering pressure line, the water pump, and the camshaft oil seals. All components will need to be replaced to repair the problems.
    • Drain the engine coolant and flush the system in both directions with water to remove sediment. Forward and reverse flush radiator, heater core, heater control valve, and engine block. Remove the vehicles overflow container and wash out debris where necessary, and fill the reservoir to capacity with new engine coolant Remove any components that interfere with the removal of the thermostat housing. Remove the thermostat housing and clean any remaining gasket material from both the water outlet, and sealing surface on the engine. Remove the thermostat from the engine, and clean the mating surface where the thermostat housing is positioned to ensure a proper seal is achieved. Install a new thermostat and gasket and position the thermostat housing back into position. Tighten all hardware to manufacturer specifications and reinstall all previously removed components back to original locations. Top off the cooling system to capacity with specified amount and type of new engine coolant. Run the engine to circulate the coolant checking the freeze point and acidity to insure a proper mixture is in the system. Run the engine to operating temperature and purge air from the system. Install the data scanner and remove any fault codes associated with the thermostat issue. Monitor the data during warm up, and verify that the electric cooling fans are operating within their specified temperature range. Check system for leaks and road test. NOTE: If the system develops an air pocket, the coolant level may decrease slightly causing a warning lamp, and or fluctuations in heat output. If this occurs, the customer should return to have the system topped off.
    • Drain the engine coolant and flush the system in both directions with water to remove sediment. Forward and reverse flush radiator, heater core, heater control valve, and engine block. Remove the vehicles overflow container and wash out debris where necessary, and fill the reservoir to capacity with new engine coolant. Remove the engines serpentine and or V style drive belts, and clean and lubricate any idlers, pivots, or tensioner assemblies for later reassembly. Remove the emissions harnesses, as well as the hoses, brackets, wiring harness bundles, and the front belt drive engine accessories. Remove the engines camshaft covers, and lower crankshaft pulley. Rotate the engine to align and verify the timing marks. All internal components are cleaned and disassembled, with the engine held in time using the factory approved holding fixture(s). Remove the timing components, and clean all of the pulley cogs, pivots, tensioners, idlers, and deflectors. Lubricate the tensioner assembly where required and set aside for installation. Remove the tensioners, cogs, idlers, and springs and remove the vehicles water pump. Clean all mating surfaces on the engine block and timing cover to ensure a proper seal is achieved during reassembly. Install a new water pump and gasket and torque as specified. Clean all internal components including the pulley cogs to remove debris. Lubricate the tensioner pivots and install a new camshaft belt set. Install the replacement camshaft belt, and remove the holding fixtures from the engine. Check to verify that the camshaft timing is within specification and set the recommended amount of preload on the new belt. Check the belt deflection as well as its alignment to the supporting pulleys and tighten the primary tensioner to specification. Bar the engine over two complete revolutions and verify that the component timing marks indicate / confirm that the engine remains in time throughout a full rotation cycle. Reinstall the crankshaft pulley and the camshaft belt covers insuring they seat properly to the face of the engine block.
     
    John K. gave our service a 5 star review on 1/23/2021
  • 2012 Honda Odyssey

    Honda Odyssey
    Mileage
    87,979
    Service Date
    1/16/2020
    Services Performed
    • Check the vehicles under hood fluid levels and remove the oil fill cap and breather assemblies (where applicable) Remove the vehicles engine oil drain plug, and drain the contents of the engines oil pan or sump. Remove the filter assembly and clean the sealing surfaces of the housing for reinstallation. On cartridge equipd vehicles, replace the housing O rings and clean the debris from the housing and relief valves. Lubricate the O rings on the housing and or the filter assembly and replace the filter or element. Clean and inspect the oil drain plug gasket, and check the threads in the engines oil pan. Torque the plug to the manufacturers specification using a new gasket where required. Clean the grease zerks to remove debris, and lubricate all accessible fittings on the vehicles steering, suspension, driveline and chassis components. Check and or set the tire pressures and relearn the TPMS system where required. Fill the engine with the manufactures specified type, grade, and viscosity engine oil and verify level after purging the new filter. Check and or top off all low fluid levels and reset the maintenance reminder system where applicable. Note. Some vehicles maintenance reminders do not take on initial reset. If your maintenance light happens to come on following an oil service, please give us a call so we can correct it.
    • Remove the four tires from the vehicle, and clean the wheel studs, hub flanges, and the rims centric. Check the vehicles braking system components for wear, remaining brake material, and signs of pending issues. Reinstall the tires onto the vehicle in their best suited locations based on overall wear, torquing all lugs to factory specification. Inflate all tires to the manufacturers suggested pressure, and visually assess the tread for abnormal wear which may indicate a need for a wheel alignment. Reset the vehicles tire pressure monitor sensor locations where required, using the factory approved TPMS (Tire Pressure Monitoring) system, scan tool. Road test the vehicle and confirm there is no abnormal handling characteristics following the rotation. Note: Some vehicles may have a slight drift following a tire rotation. This is due to a pattern that developes in some tires due to excessive time in one location. This condition should improve as the tread conforms to the new location / alignment angle. If drifting would not improve, sometimes an alignment or a cross rotation is required.
    • Replace Engine Air Filter
     
    Kimbo M. gave our service a 5 star review on 1/18/2020
  • 2008 Honda Odyssey

    Honda Odyssey
    Mileage
    161,482
    Service Date
    3/20/2019
    Services Performed
    • The camshaft tensioner was found to be broken causing it to deflect off of the side of the engine block causing the noise. Fortunately there was no additional damage found and the engine remained in time. See below for repair procedures which include camshaft belt replacement. Following this repair, the next camshaft belt service interval will be in 120,000 miles.
    • Drain the engine coolant and flush the system in both directions with water to remove sediment. Forward and reverse flush radiator, heater core, heater control valve, and engine block. Remove the vehicles overflow container and wash out debris where necessary, and fill the reservoir to capacity with new engine coolant. Remove the engines serpentine and or V style drive belts, and clean and lubricate any idlers, pivots, or tensioner assemblies for later reassembly. Remove the emissions harnesses, as well as the hoses, brackets, wiring harness bundles, and the front belt drive engine accessories. Remove the engines camshaft covers, and lower crankshaft pulley. Rotate the engine to align and verify the timing marks. If the marks are off, or the belt has failed, compression testing, and cylinder leak testing is often required to verify that the engine was not damaged due to piston to valve contact following the failure of the belt. Otherwise, all internal components are cleaned and disassembled, with the engine held in time using the factory approved holding fixture(s). Remove the timing components, and clean all of the pulley cogs, pivots, tensioners, idlers, and deflectors. Lubricate the tensioner assembly where required and set aside for installation. Remove the front radiator support, fan shrouds, and electric fan modules where required. Set the camshaft timing and remove the camshaft covers and belt(s). Remove the tensioners, cogs, idlers, and springs and remove the vehicles water pump. Clean all mating surfaces on the engine block and timing cover to ensure a proper seal is achieved during reassembly. Install a new water pump and gasket and torque as specified. Clean all internal components including the pulley cogs to remove debris. Lubricate the tensioner pivots and install a new camshaft belt set. Install the replacement camshaft belt, and remove the holding fixtures from the engine. Check to verify that the camshaft timing is within specification and set the recommended amount of preload on the new belt. Check the belt deflection as well as its alignment to the supporting pulleys and tighten the primary tensioner to specification. Bar the engine over two complete revolutions and verify that the component timing marks indicate / confirm that the engine remains in time throughout a full rotation cycle. Reinstall the crankshaft pulley and the camshaft belt covers insuring they seat properly to the face of the engine block. Reinstall the hoses, wiring harnesses, supporting brackets, emissions controls, and the lower crankshaft pulley. Check the accessories for bearing deflection and replace the accessory drive belt(s) where required. Replace or reinstall the accessory drive belt(s), and check the tensioner assembly for proper operation. Verify belt deflection and alignment of the engines accessories, and lock all manually adjusted tensioners as required. Reassemble the previously removed components centering the vehicles drive line before the final torque of the forward engine mount. Reinstall the hoses, wiring harnesses, supporting brackets, emissions controls, and the lower crankshaft pulley. Replace or reinstall the accessory drive belt(s), and check the tensioner assembly for proper operation. Verify belt deflection and alignment of the engines accessories, and lock all manually adjusted tensioners as required. Fill the cooling system to capacity with the specified amount and type of new engine coolant. Run the engine to operating temperature and purge the air from the system. Check the freeze point and acidity of the engine coolant to insure a proper mixtur
     
    Rafael M. gave our service a 5 star review on 3/29/2019
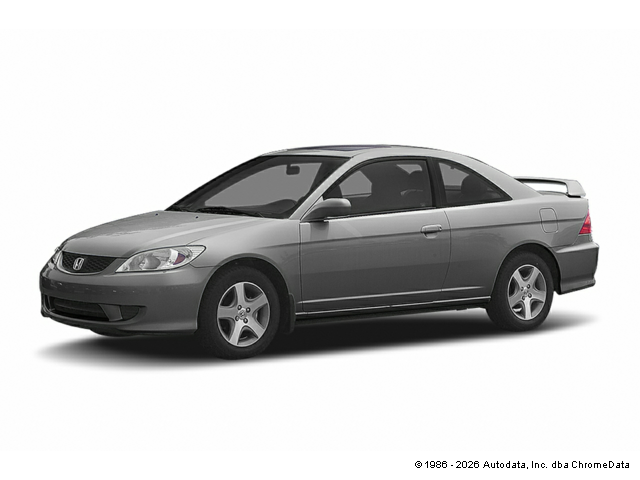
  • 2005 Honda Civic

    Honda Civic
    Mileage
    118,808
    Service Date
    10/9/2018
    Services Performed
    • Perform Intoxalock re calibration procedure according to intoxalock protocol. Customer is responsible for use and maintenance of intoxalock ignition interlock unit. Car Doc Inc. is not responsible for the interlock unit or any systems not disturbed during re calibration. The customers next calibration date is 12/07/2018
     
    James K. gave our service a 5 star review on 10/27/2018
  • 2009 Honda CR-V

    Honda CR-V
    Mileage
    157,556
    Service Date
    4/18/2018
    Services Performed
    • Tires were Rotated Last Service. All at 3/32 (legal minimum)
    • Trans Tech II Transmission machine is a self-contained system which connects directly to the transmission through the transmission cooler lines. The Trans Tech II completely exchanges 100% of the transmissions fluid while removing all internal debris. This cleaning is accomplished using only automatic transmission fluid and no solvents or chemicals which may shorten the transmissions life. The specified type of fluid is exchanged through the vehicles transmission till the unit is completely clean. This service is hands down the best way to replace virtually 100% of the transmissions fluid, without removing the transmission pan which could cause additional internal issues. Modern transmissions do not contain a 'filter', but use a debris screen. This screen is cleaned by the machine performing a back flush procedure to remove trapped debris. In some instances, where paper filters are used, the filter may need to be replaced depending upon the condition of the fluid before the service. Fluid is additional. Filter and pan gasket additional (if required).
    • Remove front brackets, adjusters, and pulleys necessary to access the accessory belt components. Remove the engines serpentine and or V style drive belts, and clean and lubricate any idlers, pivots, or tensioner assemblies for later reassembly. Clean the pulley grooves to remove built up rubber and debris that will cause premature wear / noise issues with the replacement belt(s). Check all accessories, idlers, and tensioners for bearing deflection. Replace the accessory drive and or serpentine belt(s) and reassemble the removed components. Adjust the drive belts to specification, and run the engine to check for proper operation of the idler and tensioner pulleys. Verify belt deflection and alignment of the engines accessories, and lock all manually adjusted tensioners as required.
    • Check the vehicles under hood fluid levels and remove the oil fill cap and breather assemblies (where applicable) Remove the vehicles engine oil drain plug, and drain the contents of the engines oil pan or sump. Remove the filter assembly and clean the sealing surfaces of the housing for reinstallation. On cartridge equipd vehicles, replace the housing O rings and clean the debris from the housing and relief valves. Lubricate the O rings on the housing and or the filter assembly and replace the filter or element. Clean and inspect the oil drain plug gasket, and check the threads in the engines oil pan. Torque the plug to the manufacturers specification using a new gasket where required. Clean the grease zerks to remove debris, and lubricate all accessible fittings on the vehicles steering, suspension, driveline and chassis components. Check and or set the tire pressures and relearn the TPMS system where required. Fill the engine with the manufactures specified type, grade, and viscosity engine oil and verify level after purging the new filter. Check and or top off all low fluid levels and reset the maintenance reminder system where applicable. Note. Some vehicles maintenance reminders do not take on initial reset. If your maintenance light happens to come on following an oil service, please give us a call so we can correct it.
    • Clean the debris from the engines lower intake, and remove all ignition coil assemblies and spark plugs. Run thread chaser through the cylinder head to remove debris and clean the spark plug hole threads. Clean and tighten the coil terminal connections, and check the weather seals to prevent moisture intrusion. Set the gap of the new plugs to the manufacturers specification and apply anti-seize compound to plug threads. Install the spark plugs and torque to specification. Reinstall the vehicles ignition coils and install the coil connections using dielectric grease. Reinstall any previously removed vacuum, emissions, fuel, and electrical harnesses. Reinstall all ancillary engine brackets, and torque all components to th
     
    Marie F. gave our service a 5 star review on 4/19/2018