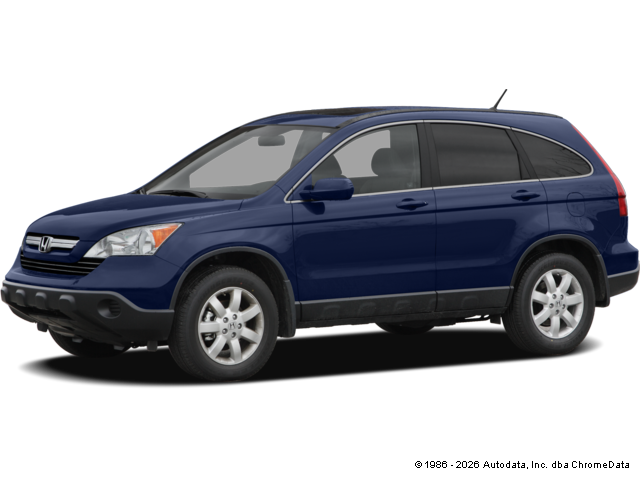
2008 Honda CR-V

Mileage
241,988
Service Date
10/1/2024
Services Performed
- Remove front wheels, suspension and braking system components necessary to access the front struts. Remove ABS wheel speed sensors if applicable. Remove interior trunk panel, packing tray, and lower seat back to access the top mounts. Remove strut assemblies and clean both side spindle bores. Lubricate all front suspension system components and check components for wear. Replace top mounting plates, bushings and strut bearings. Replace mounting hardware and torque to specification. Refit new strut assemblies into the vehicles mounts and reassemble removed components. Torque steering, suspension, and braking system components, and reinstall access panels. Reinstall wheel speed sensors and set the sensor air gap. Run ABS system test using the data scanner to insure that the ABS components are working properly. Check and or set all tire pressures. Install 4 laser heads on vehicle and take initial measurements. Adjust factory toe angle to specification. Note: Shims, Eccentrics and labor for fixed alignment angles in both the front and the rear are not included.
- Remove the front steering and suspension system components. Disconnect the sway bar assembly and links. Remove the fasteners from the ball joints and bushings. Clean all hardware and rethread as necessary. Clean the chassis mounting points and install new control arm assembly. Lubricate all pivots and torque the hardware to specification. Reassemble the sway bar links and bushing assemblies and reattach and torque the spindle. Reinstall steering components check and or set all tire pressures. Install 4 laser heads on vehicle and take initial measurements. Adjust factory toe angle to specification. Note: Shims, Eccentrics and labor for fixed alignment angles in both the front and the rear are not included.
- Road test the vehicle to verify any alignment concerns. Check and or set all tire pressures. Install targets on the vehicles wheels, and take initial alignment measurements. Adjust the factory toe angle to specification, and verify that the other alignment angles on both the front and rear axles are within specifications. Note: Shims, Eccentrics and labor for fixed alignment angles in both the front and the rear are not included.
- Remove any necessary components to gain access to the sway bar bushings. Remove all attaching hardware and remove end bushing from vehicle. Clean all bores that the end links attach to, to prevent any unnecessary noises and or accelerated wear of the replacement components. Install the new end bushing and tighten all hardware to specification. Install any previously removed components, back to their original locations and road test the vehicle to verify there are no noises, clunks, or issues associated with the sway bar end links.
- Remove the front axles in the differential and slide the axles out of the axle housing. Remove the axle seals from the axle housing and clean any remaining debris from the axle tubes. Inspect the sealing surfaces of the axle assemblies and burnish accordingly to remove any grooves which may have been caused by the seal. Install seal relocation kit into the axle housing (Where applicable) and lubricate the sealing surface of the seal. Install the axles into the differential and reinstall the retaining clips.
- Check the vehicles under hood fluid levels and remove the oil fill cap and breather assemblies (where applicable) Remove the vehicles engine oil drain plug, and drain the contents of the engines oil pan or sump. Remove the filter assembly and clean the sealing surfaces of the housing for reinstallation. On cartridge equipped vehicles, replace the housing O rings and clean the debris from the housing and relief valves. Lubricate the O rings on the housing and or the filter assembly and replace the filter or element. Clean and inspect the oil drain plug gasket, and check the threads in the engines oil pan. Torque the plug to the manufacturers specification using a new gasket where required. Clean the grease zerks to re
Walt A. gave our service a 5 star review on 10/1/2024

