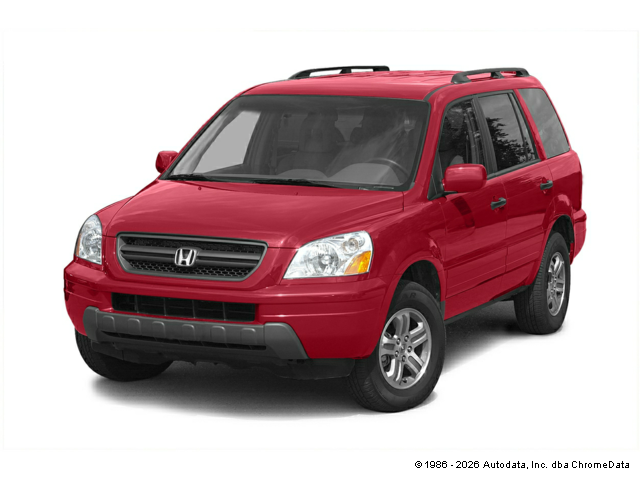
2005 Honda Pilot

Mileage
219,540
Service Date
1/23/2021
Services Performed
- Check for the source of the leak and found that there were multiple leaks. The sources of the leaks are from the power steering pressure line, the water pump, and the camshaft oil seals. All components will need to be replaced to repair the problems.
- Drain the engine coolant and flush the system in both directions with water to remove sediment. Forward and reverse flush radiator, heater core, heater control valve, and engine block. Remove the vehicles overflow container and wash out debris where necessary, and fill the reservoir to capacity with new engine coolant Remove any components that interfere with the removal of the thermostat housing. Remove the thermostat housing and clean any remaining gasket material from both the water outlet, and sealing surface on the engine. Remove the thermostat from the engine, and clean the mating surface where the thermostat housing is positioned to ensure a proper seal is achieved. Install a new thermostat and gasket and position the thermostat housing back into position. Tighten all hardware to manufacturer specifications and reinstall all previously removed components back to original locations. Top off the cooling system to capacity with specified amount and type of new engine coolant. Run the engine to circulate the coolant checking the freeze point and acidity to insure a proper mixture is in the system. Run the engine to operating temperature and purge air from the system. Install the data scanner and remove any fault codes associated with the thermostat issue. Monitor the data during warm up, and verify that the electric cooling fans are operating within their specified temperature range. Check system for leaks and road test. NOTE: If the system develops an air pocket, the coolant level may decrease slightly causing a warning lamp, and or fluctuations in heat output. If this occurs, the customer should return to have the system topped off.
- Drain the engine coolant and flush the system in both directions with water to remove sediment. Forward and reverse flush radiator, heater core, heater control valve, and engine block. Remove the vehicles overflow container and wash out debris where necessary, and fill the reservoir to capacity with new engine coolant. Remove the engines serpentine and or V style drive belts, and clean and lubricate any idlers, pivots, or tensioner assemblies for later reassembly. Remove the emissions harnesses, as well as the hoses, brackets, wiring harness bundles, and the front belt drive engine accessories. Remove the engines camshaft covers, and lower crankshaft pulley. Rotate the engine to align and verify the timing marks. All internal components are cleaned and disassembled, with the engine held in time using the factory approved holding fixture(s). Remove the timing components, and clean all of the pulley cogs, pivots, tensioners, idlers, and deflectors. Lubricate the tensioner assembly where required and set aside for installation. Remove the tensioners, cogs, idlers, and springs and remove the vehicles water pump. Clean all mating surfaces on the engine block and timing cover to ensure a proper seal is achieved during reassembly. Install a new water pump and gasket and torque as specified. Clean all internal components including the pulley cogs to remove debris. Lubricate the tensioner pivots and install a new camshaft belt set. Install the replacement camshaft belt, and remove the holding fixtures from the engine. Check to verify that the camshaft timing is within specification and set the recommended amount of preload on the new belt. Check the belt deflection as well as its alignment to the supporting pulleys and tighten the primary tensioner to specification. Bar the engine over two complete revolutions and verify that the component timing marks indicate / confirm that the engine remains in time throughout a full rotation cycle. Reinstall the crankshaft pulley and the camshaft belt covers insuring they seat properly to the face of the engine block.
John K. gave our service a 5 star review on 1/23/2021

