Welcome to Car Doc, Inc., your number one choice for auto repair in Walnutport, PA!
Let us be the solution to your vehicle repair, maintenance, and service needs.
We Challenge you to Find a More Honest, Reliable Auto Repair Shop!
Our goal at Car Doc, Inc. is simply to provide the absolute best value, quality, and reliability that you deserve in auto repair. We treat our clients the way we want to be treated, and honesty is our number one policy.
Our shop uses only the best quality materials, utilizes the latest computer diagnostic equipment, and keeps our staff fully certified and trained, so we can do the best possible job that can be done in any given situation to ensure your problem is fixed the first time. We want you to be completely satisfied with our service and we back all of our work with a 100% satisfaction guarantee.
Since 1997, Car Doc, Inc. has serviced the community and we are proud of our commitment to automotive excellence. We realize our clients are our number one asset and take pride in our customer service. We guarantee a clean, friendly, professional, relaxed atmosphere for your automotive experience.
Our employees are dedicated to educating our clients. There is nothing worse than paying for something and not understanding the cost or why you need it. All repairs are thoroughly explained, all available options brought to your attention, and an accurate price quoted before any work begins, so you can make an informed decision that works best for you. No surprises. No stress. No exceptions. We do our best to explain your specific repair in “plain English”. We never want our clients frustrated because they are unsure if they need a specific repair or are unclear as to why they needed it.
In short, we truly care about you and your vehicles. We are here to help you, make you happy, but most of all, provide automotive repair you can trust.
Chad Obenski, Owner
Address
Car Doc, Inc.
4982 E Valley Dr
Walnutport, PA 18088-9114
(610) 767-7110
Shop Hours
Mon-Fri: 8am-5pm
Sat-Sun: Closed
Directions
Payment Types


Affiliates & Certifications


Dependable Repair and Maintenance Services
30-60-90K Services – Conventional, Syn-Blend, High Mileage, Full Synthetic, and Diesel oil changes – Brakes – Air Conditioning Service – Automatic Transmission Flush – Transmission Service – Fuel Injection Service – Radiator Coolant Service – Differential / Gear Box Services – Front Diff, Rear Diff, Transfer Case, Man Trans – Tune-Ups – Power Steering Flushes – Much More!
Why Car Doc, Inc.
Simple. Exceeding expectations with honesty and integrity have made us a recognized leader in the auto repair industry. We have ASE Master Certified Technicians and the latest computerized diagnostic equipment. Furthermore, our computerized automotive information system provides detailed data for your vehicles by year, make, and model to ensure that your vehicle repairs and maintenance are in complete compliance with your manufacturer’s warranty. Other data includes lists of “high tech” specialty lubricants required for your particular vehicle, the latest service procedures, diagnostic information and factory-issued Technical Service Bulletins. The bottom line is efficient, dependable, and cost-effective service for you! Whether you are in need of service on your domestic or foreign car or light truck, we’re here to serve you. For over 22 years, our service center has serviced the community and we are proud of our commitment to automotive excellence. Please have a look around and call us anytime to schedule an appointment or, if you prefer, schedule an appointment online.
- We don’t have multiple locations, we don’t sell gas, groceries, lawn furniture, or lottery tickets. We focus all of our efforts on providing the absolute best auto repair and service in the industry to you, our clients.
- We are family owned and operated giving you the option to always deal directly with the owner.
- All technicians are fully factory certified in the latest service and repair procedures for even the newest vehicles.
- We offer same day service on most repairs.
- No Surprises, No Pressure EVER! We never perform any work without prior approval. We only repair whats necessary and will advise you of any potential problems we may encounter providing you with all available options to fit your budget, as well as get you the most for your money.
- 24 Month 24,000 Mile Warranty on almost everything we install on your vehicle.
- AAA Approved auto repair facility meeting the stringent requirements of AAA’s Approved Auto Repair Program.
- 100% Satisfaction Guarantee. We want you to be 100% satisfied with our service and back all of our work with a 100% satisfaction guarantee.
- Clean, Friendly, and Professional Atmosphere. We take extreme pride in customer service and comfort. We want you to have an enjoyable, relaxed, stress-free automotive repair experience. Should you choose to wait with your vehicle, we have a clean modern waiting room, complete with TV, Free WiFi, as well as coffee and tea.
Recently Serviced Vehicles
-
2015 Ford Escape
Mileage167,803Service Date12/18/2024Services Performed- Remove any components necessary to gain access to the horn. Disconnect the electrical wires connected to it, remove the mounting bolts holding it in place. Install the new horn, reconnect or replace the wires, and test the functionality by turning on the ignition.
- Remove all necessary components in the cowel area (washer jets and plumbing, harnesses, cowel inlet screens, and wiper arms), in order to access the vehicles wiper motor cavity. Remove the wiper transmission and all associated linkages and remove the electrical connector attached to the wiper motor. Remove the wiper motor and wiper transmission from the vehicle and transfer the transmission to the new wiper motor. Time the components to the replacement motor so that the assembly is properly timed. Install the assembly back into the vehicle, and clean and tighten the electrical terminals to ensure proper mating between the new motor and the existing wiring harness. Run full tests on the wiper circuit to ensure all components function properly. Install all previously removed components back to their original state and verify proper operation of the wiper system and supporting components.
Jennifer B. gave our service a 5 star review on 12/18/2024 -
2017 Toyota RAV4
Mileage111,445Service Date12/10/2024Services Performed- Check the vehicles under hood fluid levels and remove the oil fill cap and breather assemblies (where applicable) Remove the vehicles engine oil drain plug, and drain the contents of the engines oil pan or sump. Remove the filter assembly and clean the sealing surfaces of the housing for reinstallation. On cartridge equipped vehicles, replace the housing O rings and clean the debris from the housing and relief valves. Lubricate the O rings on the housing and or the filter assembly and replace the filter or element. Clean and inspect the oil drain plug gasket, and check the threads in the engines oil pan. Torque the plug to the manufacturers specification using a new gasket where required. Clean the grease zerks to remove debris, and lubricate all accessible fittings on the vehicles steering, suspension, driveline and chassis components. Check and or set the tire pressures and relearn the TPMS system where required. Fill the engine with the manufacturers specified type, grade, and viscosity engine oil and verify level after purging the new filter. Check and or top off all low fluid levels and reset the maintenance reminder system where applicable. Note. Some vehicles maintenance reminders do not take on initial reset. If your maintenance light happens to come on following an oil service, please give us a call so we can correct it.
- Remove the cabin air housing to access the interior cabin air filter. This filter is responsible for filtering the air used for the heating and air conditioning in the vehicle and removing harmful particulates. Vacuum the inside of the filters housing and replace the cabin air filter with a new unit. Reinstall the access covers and test the air flow from the vents.
- Remove the air intake hose from the plenum chamber and disassemble the filter housing. Remove the existing engine air filter and vacuum the inside of the filter housing. Install the replacement filter and resecure the air intake pipes to the plenum chamber.
- Remove necessary brackets and covers to access the vehicles battery. Remove both battery cables and clean the terminal ends. Remove the existing battery and clean all surrounding components and the battery tray to remove any residual acid. Apply corrosion inhibitor to the tray and install a new battery. Reinstall hold down and tighten the battery cables. Check all electrical system components for proper operation and perform a full electrical system analysis.
Esther G. gave our service a 5 star review on 12/11/2024 -
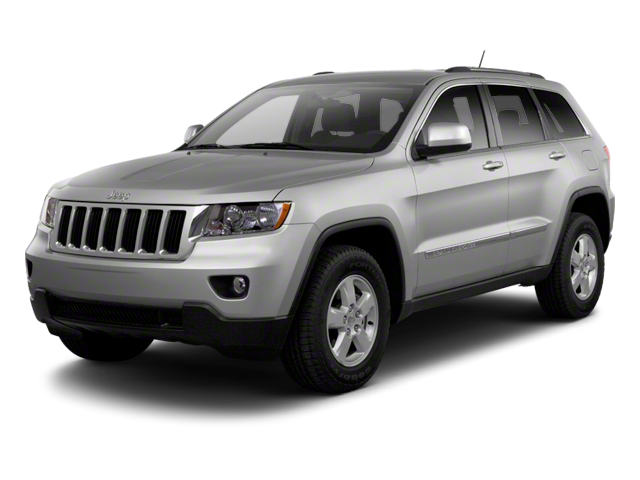
2011 Jeep Grand Cherokee
Mileage75,514Service Date12/7/2024Services Performed- Check the vehicles under hood fluid levels and remove the oil fill cap and breather assemblies (where applicable) Remove the vehicles engine oil drain plug, and drain the contents of the engines oil pan or sump. Remove the filter assembly and clean the sealing surfaces of the housing for reinstallation. On cartridge equipped vehicles, replace the housing O rings and clean the debris from the housing and relief valves. Lubricate the O rings on the housing and or the filter assembly and replace the filter or element. Clean and inspect the oil drain plug gasket, and check the threads in the engines oil pan. Torque the plug to the manufacturers specification using a new gasket where required. Clean the grease zerks to remove debris, and lubricate all accessible fittings on the vehicles steering, suspension, driveline and chassis components. Check and or set the tire pressures and relearn the TPMS system where required. Fill the engine with the manufacturers specified type, grade, and viscosity engine oil and verify level after purging the new filter. Check and or top off all low fluid levels and reset the maintenance reminder system where applicable. Note. Some vehicles maintenance reminders do not take on initial reset. If your maintenance light happens to come on following an oil service, please give us a call so we can correct it.
Michael L. gave our service a 5 star review on 12/7/2024 -
2011 Chevrolet Camaro
Mileage59,869Service Date12/4/2024Services Performed- CONVERTIBLE TOP COVER ASSEMBLY – Remove & Replace – Convertible Outer
Ashley E. gave our service a 5 star review on 12/6/2024 -
2016 Kia Sorento
Mileage127,936Service Date12/3/2024Services Performed- Clean the debris from the engines lower intake, and remove all ignition coil assemblies and spark plugs. Run thread chaser through the cylinder head to remove debris and clean the spark plug hole threads. Clean and tighten the coil terminal connections, and check the weather seals to prevent moisture intrusion. Set the gap of the new plugs to the manufacturers specification and apply anti-seize compound to plug threads. Install the spark plugs and torque to specification. Reinstall the vehicles ignition coils and install the coil connections using dielectric grease. Reinstall any previously removed vacuum, emissions, fuel, and electrical harnesses. Reinstall all ancillary engine brackets, and torque all components to the manufacturers specification. Base idle adjustment is included where applicable. Install data scanner and run engine to operating temperature to verify that all computer controls are operating within parameters. Road test vehicle and verify static ignition timing and applicable fluid levels.
- Remove any components necessary to gain access to the pcv valve. Disconnect any hoses or electrical connectors attached to the old valve. Use a wrench or socket wrench to loosen and remove any mounting bolts. Remove the old PCV valve and inspect it for any signs of damage or debris. Install the new valve and position it in the same orientation as the old one. Tighten the mounting bolts to the specified torque. Reconnect any hoses and electrical connectors. Reinstall any removed components.
- Remove the vehicles transmission oil drain plug, and drain the contents of the transmission oil pan. Clean and inspect the transmission drain plug gasket, and check the threads in the transmission oil pan. Torque the plug to the manufacturers specification using a new gasket where required. Fill the transmission with the manufacturers specified type of automatic transmission fluid. Run the engine to circulate the fluid through the transmission. Road test the vehicle and top off the fluid as required to bring the level to its 'hot' specification. Reset the maintenance reminder system where applicable.
- Remove plugs from the differential housing and vacuum fluid from the front carrier housing. Flush the housing to remove debris and dry all internal components. Install an endoscope and check all internal components for excessive wear. Add fluid to capacity and additive if necessary. Road test vehicle and recheck fluid levels and check for leaks.
- Remove the wheels from the vehicle and clean the inner hub flanges of the rims. Mount the rim and tire assembly onto the computer spin balancer and remove the existing weights. Dynamically balance the tires to zero balance, and remount the rim onto the vehicle.
Kirk K. gave our service a 5 star review on 12/3/2024 -
2017 Kia Forte
Mileage99,007Service Date11/25/2024Services Performed- Check the vehicles under hood fluid levels and remove the oil fill cap and breather assemblies (where applicable) Remove the vehicles engine oil drain plug, and drain the contents of the engines oil pan or sump. Remove the filter assembly and clean the sealing surfaces of the housing for reinstallation. On cartridge equipped vehicles, replace the housing O rings and clean the debris from the housing and relief valves. Lubricate the O rings on the housing and or the filter assembly and replace the filter or element. Clean and inspect the oil drain plug gasket, and check the threads in the engines oil pan. Torque the plug to the manufacturers specification using a new gasket where required. Clean the grease zerks to remove debris, and lubricate all accessible fittings on the vehicles steering, suspension, driveline and chassis components. Check and or set the tire pressures and relearn the TPMS system where required. Fill the engine with the manufacturers specified type, grade, and viscosity engine oil and verify level after purging the new filter. Check and or top off all low fluid levels and reset the maintenance reminder system where applicable. Note. Some vehicles maintenance reminders do not take on initial reset. If your maintenance light happens to come on following an oil service, please give us a call so we can correct it.
- Remove the four tires from the vehicle, and clean the wheel studs, hub flanges, and the rims centric. Check the vehicles braking system components for wear, remaining brake material, and signs of pending issues. Reinstall the tires onto the vehicle in their best suited locations based on overall wear, torquing all lugs to factory specification. Inflate all tires to the manufacturers suggested pressure, and visually assess the tread for abnormal wear which may indicate a need for a wheel alignment. Reset the vehicles tire pressure monitor sensor locations where required, using the factory approved TPMS (Tire Pressure Monitoring) system, scan tool. Road test the vehicle and confirm there is no abnormal handling characteristics following the rotation. Note: Some vehicles may have a slight drift following a tire rotation. This is due to a pattern that developes in some tires due to excessive time in one location. This condition should improve as the tread conforms to the new location / alignment angle. If drifting would not improve, sometimes an alignment or a cross rotation is required.
Susan C. gave our service a 5 star review on 11/25/2024 -
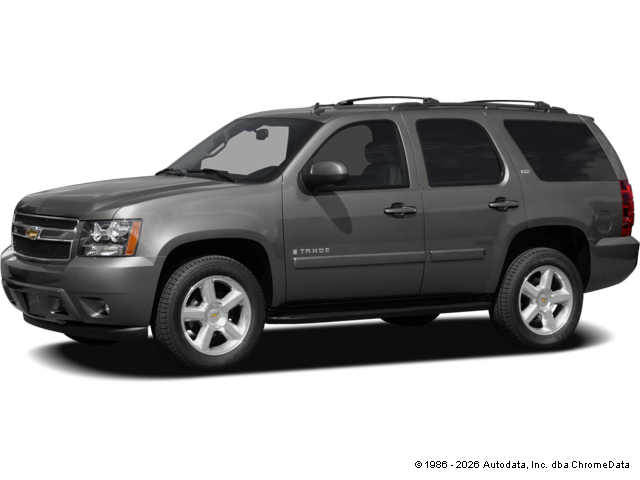
2007 Chevrolet Tahoe
Mileage379,676Service Date11/21/2024Services Performed- OBD II and fuel cap integrity test. Pass or Fail. 30 day free retest at this facility.
Al K. gave our service a 5 star review on 11/21/2024 -
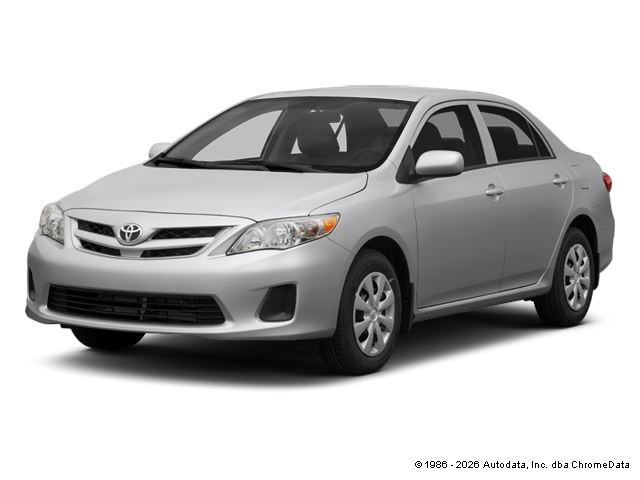
2013 Toyota Corolla
Mileage30,258Service Date11/18/2024Services Performed- Install data scanner and engine analyzer. Run tests on the fuel, ignition, and computer control systems. Retrieve fault codes from the processors memory. Codes exist in the system for P0441 evap emission control system incorrect purge flow, P0455 evap emission control system leak detected gross leak. Perform all necessary pin point tests checking the wiring, grounds, relays, and related circuit components to isolate the problem to a line has been chewed through. Repair broken line, clear and reset the system.
- Price includes mounting, balancing, flange machining, tire disposal, and resetting / relearning of the tire pressure monitoring systems data, and sensors where necessary.
- Road test the vehicle to verify any alignment concerns. Check and or set all tire pressures. Install targets on the vehicles wheels, and take initial alignment measurements. Adjust the factory toe angle to specification, and verify that the other alignment angles on both the front and rear axles are within specifications. Note: Shims, Eccentrics and labor for fixed alignment angles in both the front and the rear are not included.
- Check the vehicles under hood fluid levels and remove the oil fill cap and breather assemblies (where applicable) Remove the vehicles engine oil drain plug, and drain the contents of the engines oil pan or sump. Remove the filter assembly and clean the sealing surfaces of the housing for reinstallation. On cartridge equipped vehicles, replace the housing O rings and clean the debris from the housing and relief valves. Lubricate the O rings on the housing and or the filter assembly and replace the filter or element. Clean and inspect the oil drain plug gasket, and check the threads in the engines oil pan. Torque the plug to the manufacturers specification using a new gasket where required. Clean the grease zerks to remove debris, and lubricate all accessible fittings on the vehicles steering, suspension, driveline and chassis components. Check and or set the tire pressures and relearn the TPMS system where required. Fill the engine with the manufacturers specified type, grade, and viscosity engine oil and verify level after purging the new filter. Check and or top off all low fluid levels and reset the maintenance reminder system where applicable. Note. Some vehicles maintenance reminders do not take on initial reset. If your maintenance light happens to come on following an oil service, please give us a call so we can correct it.
Beverly D. gave our service a 5 star review on 11/18/2024 -
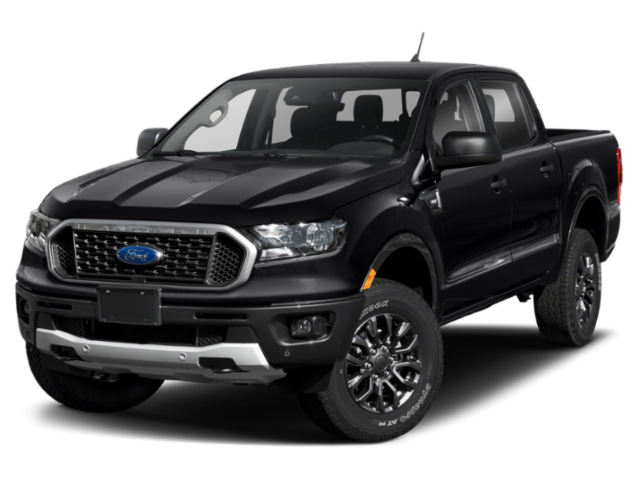
2020 Ford Ranger
Mileage36,885Service Date11/13/2024Services Performed- Price includes mounting, balancing, flange machining, tire disposal, and resetting / relearning of the tire pressure monitoring systems data, and sensors where necessary.
Suzanne B. gave our service a 5 star review on 11/13/2024 -
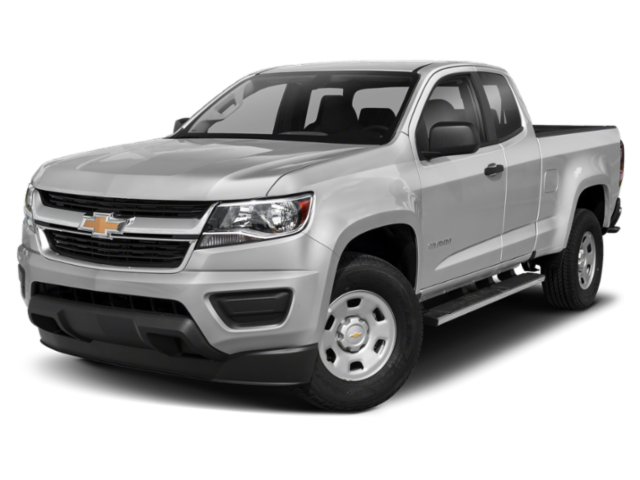
2019 Chevrolet Colorado
Mileage52,488Service Date11/1/2024Services Performed- Road test vehicle and check for brake pulsation, brake noise, wheel alignment pull, steering wheel centering, suspension stability, tire balance condition, transmission shifting and or clutch engagement, and engine performance concerns. Visually inspect tires for wear resulting from alignment, or balance problems. Check front and rear suspension components for wear at all visible bushings, pivots, sockets, and joints. Check the condition of all drive belts, radiator hoses, heater hoses, brake hoses, and verify level and condition of engine coolant is good. Check engine, transmission, final drive, and differentials for any oil leaks. Check CV drive axle boots for cracks or tears. Check ignition system components consisting of plugs, ignition wires, coils, and or cap and rotor if applicable. Check exhaust system fittings, clamps, and gaskets for leaks or damage and verify condition and levels of power steering fluid, brake fluid, transmission fluid, and differential or final drive fluid. Test all vehicle exterior lights for illumination, turn signal operation, and emergency flasher operation. Hook vehicles components to the VAT45 digital analyzer. Perform a full electrical system diagnostic including a complete analysis of starting and charging system components; vehicle battery (connections and cables), alternator output (belt tension and condition), and starter operation.
Shawn K. gave our service a 5 star review on 11/1/2024 -
2015 Chevrolet Equinox
Mileage53,863Service Date10/29/2024Services Performed- Check the vehicles under hood fluid levels and remove the oil fill cap and breather assemblies (where applicable) Remove the vehicles engine oil drain plug, and drain the contents of the engines oil pan or sump. Remove the filter assembly and clean the sealing surfaces of the housing for reinstallation. On cartridge equipped vehicles, replace the housing O rings and clean the debris from the housing and relief valves. Lubricate the O rings on the housing and or the filter assembly and replace the filter or element. Clean and inspect the oil drain plug gasket, and check the threads in the engines oil pan. Torque the plug to the manufacturers specification using a new gasket where required. Clean the grease zerks to remove debris, and lubricate all accessible fittings on the vehicles steering, suspension, driveline and chassis components. Check and or set the tire pressures and relearn the TPMS system where required. Fill the engine with the manufacturers specified type, grade, and viscosity engine oil and verify level after purging the new filter. Check and or top off all low fluid levels and reset the maintenance reminder system where applicable. Note. Some vehicles maintenance reminders do not take on initial reset. If your maintenance light happens to come on following an oil service, please give us a call so we can correct it.
Ashley E. gave our service a 5 star review on 10/29/2024
