Ford

Home / Ford / Page 2

We Service and Repair all Ford cars

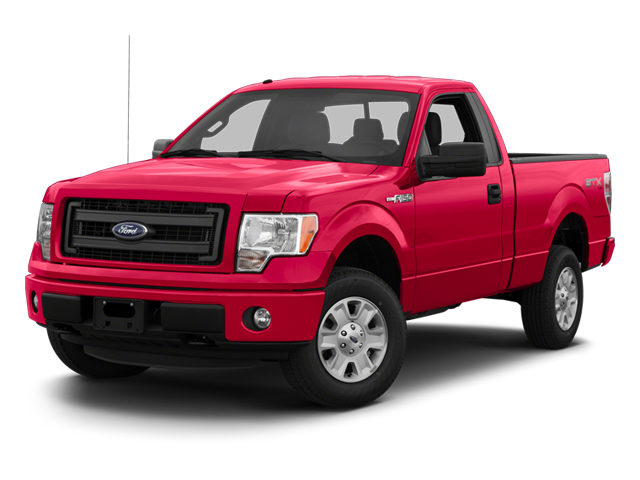
  • 2013 Ford F-150

    Ford F-150
    Mileage
    100,286
    Service Date
    7/6/2022
    Services Performed
    • Install data scanner and engine analyzer. Run tests on the fuel, ignition, and computer control systems. Retrieve fault codes from the processors memory. Codes exist in the system for (P0023) bank #2 exhaust camshaft actuator circuit/open. Perform all necessary pin point tests checking the wiring, grounds, relays, and related circuit components to isolate the problem to a shorted bank #2 exhaust camshaft actuator solenoid which will need to be replaced in order to repair the issue.
    • Remove any components necessary to gain access to the engines rocker / camshaft covers. Remove all attaching hardware and remove the rocker covers from the cylinder heads. Remove the attaching hardware for the existing camshaft actuators and remove them from the engine. Depress the force pins to prevent any interference with the camshaft actuator solenoids. Tighten all hardware to specification and inspect the timing components for any signs of wear that are visible. Remove the gasket material from the rocker cover assemblies and clean the channels to remove any remaining residual oil or debris. Clean the mating surfaces on the engines cylinder head(s) and check the surfaces for warpage or any imperfections that would prevent the new gaskets from making a proper seal. Install the new gaskets on to the rocker covers and place onto the cylinder head ensuring that the end seals are secured with sealant. Torque all hardware to manufacturers specification and install any previously removed components back to their original state. Top off the engine oil and or change the engine oil and filter as required. Run the engine to operating temperature and check the rocker covers for leaks.
    • Check the vehicles under hood fluid levels and remove the oil fill cap and breather assemblies (where applicable) Remove the vehicles engine oil drain plug, and drain the contents of the engines oil pan or sump. Remove the filter assembly and clean the sealing surfaces of the housing for reinstallation. On cartridge equipped vehicles, replace the housing O rings and clean the debris from the housing and relief valves. Lubricate the O rings on the housing and or the filter assembly and replace the filter or element. Clean and inspect the oil drain plug gasket, and check the threads in the engines oil pan. Torque the plug to the manufacturers specification using a new gasket where required. Clean the grease zerks to remove debris, and lubricate all accessible fittings on the vehicles steering, suspension, driveline and chassis components. Check and or set the tire pressures and relearn the TPMS system where required. Fill the engine with the manufacturers specified type, grade, and viscosity engine oil and verify level after purging the new filter. Check and or top off all low fluid levels and reset the maintenance reminder system where applicable. Note. Some vehicles maintenance reminders do not take on initial reset. If your maintenance light happens to come on following an oil service, please give us a call so we can correct it.
     
    Andy B. gave our service a 5 star review on 7/7/2022
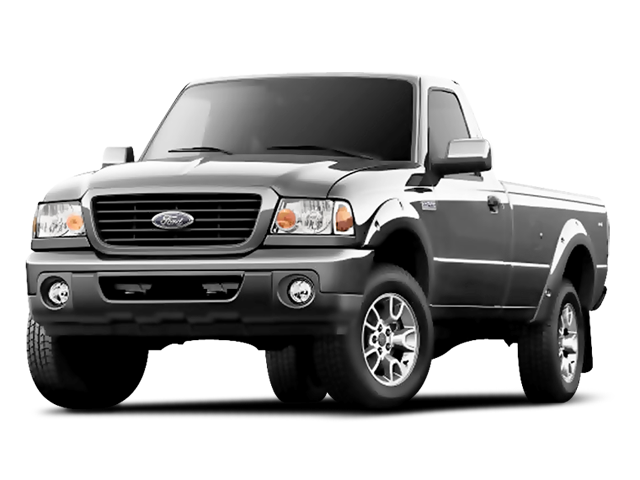
  • 2008 Ford Ranger

    Ford Ranger
    Mileage
    111,720
    Service Date
    6/14/2022
    Services Performed
    • Check the vehicles under hood fluid levels and remove the oil fill cap and breather assemblies (where applicable) Remove the vehicles engine oil drain plug, and drain the contents of the engines oil pan or sump. Remove the filter assembly and clean the sealing surfaces of the housing for reinstallation. On cartridge equipped vehicles, replace the housing O rings and clean the debris from the housing and relief valves. Lubricate the O rings on the housing and or the filter assembly and replace the filter or element. Clean and inspect the oil drain plug gasket, and check the threads in the engines oil pan. Torque the plug to the manufacturers specification using a new gasket where required. Clean the grease zerks to remove debris, and lubricate all accessible fittings on the vehicles steering, suspension, driveline and chassis components. Check and or set the tire pressures and relearn the TPMS system where required. Fill the engine with the manufacturers specified type, grade, and viscosity engine oil and verify level after purging the new filter. Check and or top off all low fluid levels and reset the maintenance reminder system where applicable. Note. Some vehicles maintenance reminders do not take on initial reset. If your maintenance light happens to come on following an oil service, please give us a call so we can correct it.
     
    Josephine C. gave our service a 5 star review on 6/14/2022
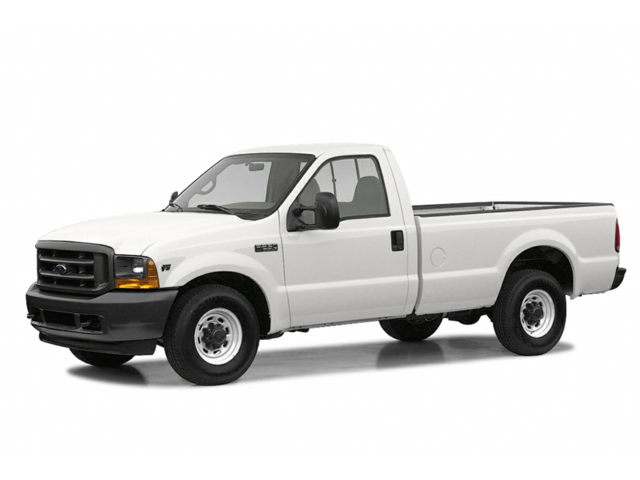
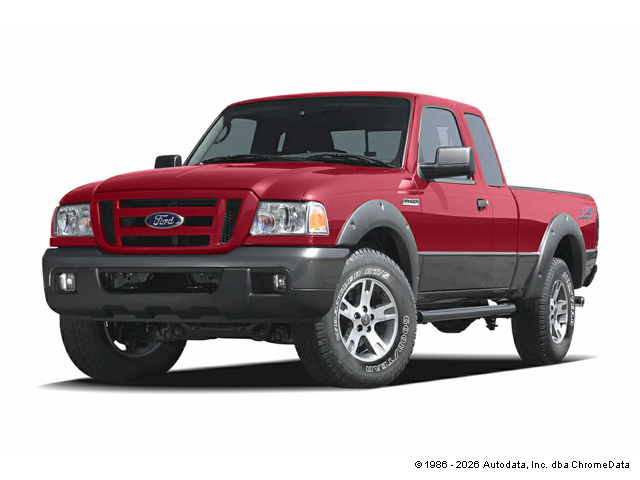
  • 2004 Ford Pickup

    Ford Pickup
    Mileage
    127,269
    Service Date
    5/17/2022
    Services Performed
    • Check the vehicles under hood fluid levels and remove the oil fill cap and breather assemblies (where applicable) Remove the vehicles engine oil drain plug, and drain the contents of the engines oil pan or sump. Remove the filter assembly and clean the sealing surfaces of the housing for reinstallation. On cartridge equipped vehicles, replace the housing O rings and clean the debris from the housing and relief valves. Lubricate the O rings on the housing and or the filter assembly and replace the filter or element. Clean and inspect the oil drain plug gasket, and check the threads in the engines oil pan. Torque the plug to the manufacturers specification using a new gasket where required. Clean the grease zerks to remove debris, and lubricate all accessible fittings on the vehicles steering, suspension, driveline and chassis components. Check and or set the tire pressures and relearn the TPMS system where required. Fill the engine with the manufacturers specified type, grade, and viscosity engine oil and verify level after purging the new filter. Check and or top off all low fluid levels and reset the maintenance reminder system where applicable. Note. Some vehicles maintenance reminders do not take on initial reset. If your maintenance light happens to come on following an oil service, please give us a call so we can correct it.
     
    Mark E. gave our service a 5 star review on 5/17/2022
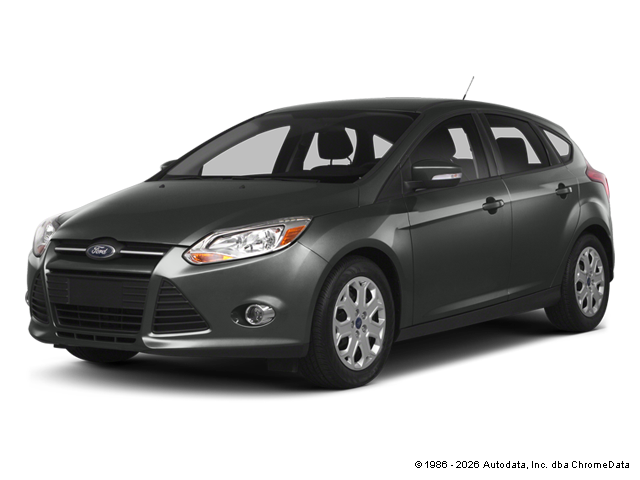
  • 2014 Ford Focus

    Ford Focus
    Mileage
    81,055
    Service Date
    11/19/2021
    Services Performed
    • Remove all components necessary in order to gain access to the engine mount. Remove all attaching hardware for the mount and raise the engine slightly in order to remove the engine mount. Remove the mount from the vehicle and install the new mount into position and tighten all hardware to specification. Lower the engine back into position and center the driveline. Install all previously removed components back to original configuration and road test the vehicle.
    • Trans Tech II Transmission machine is a self-contained system which connects directly to the transmission through the transmission cooler lines. The Trans Tech II completely exchanges 100% of the transmissions fluid while removing all internal debris. This cleaning is accomplished using only automatic transmission fluid and no solvents or chemicals which may shorten the transmissions life. The specified type of fluid is exchanged through the vehicles transmission till the unit is completely clean. This service is hands down the best way to replace virtually 100% of the transmissions fluid, without removing the transmission pan which could cause additional internal issues. Modern transmissions do not contain a 'filter', but use a debris screen. This screen is cleaned by the machine performing a back flush procedure to remove trapped debris. In some instances, where paper filters are used, the filter may need to be replaced depending upon the condition of the fluid before the service. Fluid is additional. Filter and pan gasket additional (if required).
    • Clean the debris from the engines lower intake, and remove all ignition coil assemblies and spark plugs. Run thread chaser through the cylinder head to remove debris and clean the spark plug hole threads. Clean and tighten the coil terminal connections, and check the weather seals to prevent moisture intrusion. Set the gap of the new plugs to the manufacturers specification and apply anti-seize compound to plug threads. Install the spark plugs and torque to specification. Reinstall the vehicles ignition coils and install the coil connections using dielectric grease. Reinstall any previously removed vacuum, emissions, fuel, and electrical harnesses. Reinstall all ancillary engine brackets, and torque all components to the manufacturers specification. Perform full injection system service using the Motor Vac System… The MotorVac Complete Fuel System Service is a revolutionary procedure that uses a specially designed machine that hooks directly to the vehicle. Utilizing a special detergent (which will not damage your vehicles sophisticated fuel system components) the equipment removes the dirt, varnish, and carbon deposits that normally build up on the intake valves, fuel injectors, and combustion surfaces. The air intake plenum, air charge, air bypass valve, and throttle body are also thoroughly cleaned during this process. In addition, oxygen sensors, and catalytic converters are cleaned reducing harmful exhaust emissions. All fuel system components are thoroughly tested as part of this service; Fuel pressure (static, and dynamic) regulator operation, leak down (at both injector assemblies and pump shuttle valve) and volume tests to verify that your fuel system is operating properly. Base idle adjustment is included where applicable. Install data scanner and run engine to operating temperature to verify that all computer controls are operating within parameters. Road test vehicle and verify static ignition timing and applicable fluid levels.
     
    Al S. gave our service a 5 star review on 11/19/2021
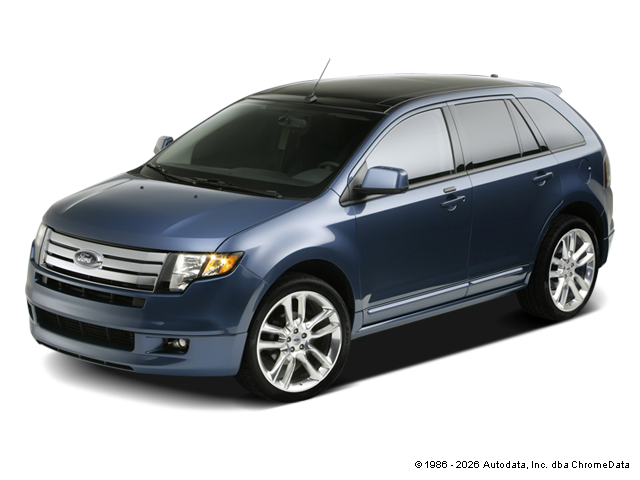
  • 2010 Ford Edge

    Ford Edge
    Mileage
    102,368
    Service Date
    9/8/2021
    Services Performed
    • Replace the Blower Motor and Unclog Evaporator Drain
    • Replace the Windshield Washer Nozzles.
     
    Eric S. gave our service a 5 star review on 9/12/2021
  • 2004 Ford Pickup

    Ford Pickup
    Mileage
    123,406
    Service Date
    8/7/2021
    Services Performed
    • Replace the drivers side reverse light bulb and check all exterior lights to confirm repairs.
    • See description below….
    • The above described problems were addressed during the repairs that will be described below due to the problem affecting multiple circuits. It was noticed that when the blower motor circuit was used many different electrical problems occurred. During the testing it was noticed that the passenger side floor area had some deterioration/rust on the floor board. Pull the carpet back in order to check the condition of the floor and side of the vehicle and found a ground wire attachment had broken off completely which was the grounding location for multiple circuits. Make a new location for the ground wires and tighten the connection. Recheck the components that were affected previously and with the ground repaired the heater controls, lights, and blower all function properly.
    • Check All Fluid Levels and the Tire Air Pressure
    • Perform an initial evaluation of the vehicle checking fluid levels, and any other noticeable abnormalities before starting the engine. Upon start up, verify that the engine light is not flashing, and that there are no catastrophic indications of issues (low or no oil pressure, excessive mechanical noises, etc). Install the data scanner / engine analyzer, and road test the vehicle to confirm the issue and record pertinent data. Run full diagnostic tests on the fuel, ignition, and computer control systems to isolate any issues pertaining to the issue. Perform all necessary pin point tests checking the wiring, grounds, relays, and related circuit components to isolate the problem. Determined that the vehicle is misfiring on cylinders #7 and #8. Check the components for those cylinders and found that the electrodes have completely worn/broken off which has caused the spark plugs to misfire. Replace both affected spark plugs and road test the vehicle to confirm repairs.
    • Install refrigerant recycling equipment on the system and remove any remaining system pressure and oil. Clean all exterior connections requiring servicing to remove debris. Vacuum system for 30 minutes to remove any moisture. Fill system to capacity with new esther oil, dye, and refrigerant. Clean condenser fins and inlet and outlet air passages. Run engine to operating temperature and monitor system pressures. Check the operation of the condenser fan, blend door, and check and verify vent temperatures. Check for leaks using dye detection light and insure that all system components are dry. No leaks are present at this time. If the system performance decreases, the customer should return for additional leak testing.
     
    Mark E. gave our service a 5 star review on 8/7/2021
  • 2016 Ford Escape

    Ford Escape
    Mileage
    122,084
    Service Date
    5/20/2021
    Services Performed
    • Road test the vehicle if running to confirm the customers complaint. Install data scanner and engine analyzer. Run full diagnostic tests on the fuel, ignition, and computer control systems. The engine spins very fast indicating there is no compression being produced. Perform all necessary pin point tests checking the wiring, grounds, relays, and related circuit components to isolate the problem to a valve timing issue, most likely a timing chain component problem. The camshafts are not rotating which means a major mechanical problem has occurred and with this being an interference style engine, it is recommended that the engine be replaced due to the extent of repairing the existing assembly.
    • Drain engine coolant and flush system in both directions with water to remove sediment. Hook flush equipment to the vehicles cooling system and forward and reverse flush radiator, heater core, heater control valve, and engine block. Remove the vehicles overflow container and wash out debris. Reinstall overflow and top off to capacity. Run engine on the flush equipment until the engine coolant is clean and the acidity is at an acceptable level. Top off cooling system to capacity with specified amount and type of new engine coolant. Run engine to circulate coolant and check freeze point and acidity to insure a proper mixture is in the system. Run engine to operating temperature and purge air from system. Check to verify that the electric cooling fans are operating within their specified temperature range. Check system for leaks and road test. NOTE: If the system develops an air pocket, the coolant level may decrease slightly. If this occurs, the customer should return to have the system topped off.
    • Install refrigerant recycling equipment on the system and remove any remaining system pressure and oil. Clean all exterior connections requiring servicing to remove debris. Vacuum system for 30 minutes to remove any moisture. Fill system to capacity with new esther oil, dye, and refrigerant. Clean condenser fins and inlet and outlet air passages. Run engine to operating temperature and monitor system pressures. Check the operation of the condenser fan, blend door, and check and verify vent temperatures. Check for leaks using dye detection light and insure that all system components are dry. No leaks are present at this time. If the system performance decreases, the customer should return for additional leak testing.
    • (See cooling system and air conditioning services) Remove all necessary brackets, vacuum lines, wiring harnesses, air conditioning compressor, alternator, power steering components, starter, water pump, and hardware to gain access to the engine assembly. Drain all fluids from the existing engine assembly. Remove the radiator and hood assemblies to gain clearance for the engine removal. Remove the engine mount hardware and support the transmission and remove the bell housing hardware. Remove the engine assembly from the vehicle and remove the accessories and all brackets from existing engine. Install the replacement engine into the vehicle onto the existing engine mounts and install all components previously removed into their correct locations. Fill engine with correct level and type of coolant and engine oil. Run engine to operating temperature and check for leaks. Adjust vehicles ignition timing and idle speed (if applicable) and road test to verify correct operation. Run the engine to operating temperature and run a full diagnostic on the computer controlled components to insure that all of the vehicles systems are working within parameters. (See cooling system and air conditioning services.)
     
    Stephanie A. gave our service a 5 star review on 5/30/2021
  • 2014 Ford Focus

    Ford Focus
    Mileage
    74,000
    Service Date
    3/11/2021
    Services Performed
    • Road test the vehicle to verify any alignment concerns. Check and or set all tire pressures. Install targets on the vehicles wheels, and take initial alignment measurements. Adjust the factory toe angle to specification, and verify that the other alignment angles on both the front and rear axles are within specifications. Note: Shims, Eccentrics and labor for fixed alignment angles in both the front and the rear are not included.
     
    Al S. gave our service a 5 star review on 3/30/2021
  • 2006 Ford Ranger

    Ford Ranger
    Mileage
    229,721
    Service Date
    1/4/2021
    Services Performed
    • Remove plugs from the differential housing and vacuum fluid from the carrier housing. Flush the housing to remove debris and dry all internal components. Install an endoscope and check all internal components for excessive wear. Found that the inner pinion bearing was faulty and the source of the noise. It is recommended that the carrier bearing and also pinion bearings ne replaced. Remove drive shaft, yoke, and support bracket to access the pinion seal. Remove the old seal assembly and deflector, Clean the yoke and housing bore and polish the sealing surface of the yoke. Replace all of the carrier bearing and both pinion bearings and set the proper preload on all replaced components. Install the new seal, lubricate the seal lip and reassemble the yoke assembly. Adjust the pinion turning torque and reassemble the carrier components. Add fluid to capacity and additive if necessary. Road test vehicle and recheck fluid levels and check for leaks.
     
    Donald H. gave our service a 5 star review on 1/7/2021
  • 2004 Ford Pickup

    Ford Pickup
    Mileage
    120,845
    Service Date
    12/30/2020
    Services Performed
    • Check the Condition Of the Engine Mounts
    • Check the vehicles under hood fluid levels and remove the oil fill cap and breather assemblies (where applicable) Remove the vehicles engine oil drain plug, and drain the contents of the engines oil pan or sump. Remove the filter assembly and clean the sealing surfaces of the housing for reinstallation. On cartridge equipped vehicles, replace the housing O rings and clean the debris from the housing and relief valves. Lubricate the O rings on the housing and or the filter assembly and replace the filter or element. Clean and inspect the oil drain plug gasket, and check the threads in the engines oil pan. Torque the plug to the manufacturers specification using a new gasket where required. Clean the grease zerks to remove debris, and lubricate all accessible fittings on the vehicles steering, suspension, driveline and chassis components. Check and or set the tire pressures and relearn the TPMS system where required. Fill the engine with the manufacturers specified type, grade, and viscosity engine oil and verify level after purging the new filter. Check and or top off all low fluid levels and reset the maintenance reminder system where applicable. Note. Some vehicles maintenance reminders do not take on initial reset. If your maintenance light happens to come on following an oil service, please give us a call so we can correct it.
    • Install data scanner and engine analyzer. Run tests on the fuel, ignition, and computer control systems. Retrieve fault codes from the processors memory. Codes exist in the system for (P0171) system lean bank #1 (P0303) misfire on cylinder #3, (P0316) misfire detected, and (P0357) ignition coil primary circuit fault. Perform all necessary pin point tests checking the wiring, grounds, relays, and related circuit components to isolate the problem to a faulty ignition coil assembly. It is recommended that the ignition coil be replaced along with electrical connector to repair the issue.
    • Remove all components necessary in order to gain access to the engine mounts. Remove all attaching hardware for the mounts and raise the engine slightly in order to remove the engine mounts. Remove the mount from the vehicle and install the new mounts into position and tighten all hardware to specification. Lower the engine back into position and center the driveline. Install all previously removed components back to original configuration and road test the vehicle. NOTE: The starter had to be removed to be able to remove the engine mount and one of the terminal posts broke off during the removal process due to age/deterioration and will need to be replaced due to the damage.
    • Remove front steering and suspension components and spindles. Remove retaining rings or clips and remove ball joint assemblies from the control arm. Clean the control arm bore and press in new lower joint. Lubricate all steering and suspension components and check the preload of the spindle. Replace steering and braking system components and clean and repack front wheel bearings and hub assemblies where applicable. Perform a wheel alignment and road test the vehicle.
    • Remove the four tires from the vehicle, and clean the wheel studs, hub flanges, and the rims centric. Check the vehicles braking system components for wear, remaining brake material, and signs of pending issues. Reinstall the tires onto the vehicle in their best suited locations based on overall wear, torquing all lugs to factory specification. Inflate all tires to the manufacturers suggested pressure, and visually assess the tread for abnormal wear which may indicate a need for a wheel alignment. Reset the vehicles tire pressure monitor sensor locations where required, using the factory approved TPMS (Tire Pressure Monitoring) system, scan tool. Road test the vehicle and confirm there is no abnormal handling characteristics following the rotation. Note: Some vehicles may have a slight drift following a tire rotation. This is due to a pattern tha
     
    Mark E. gave our service a 5 star review on 12/31/2020