CRM Mitchell1

Home / Archives for CRM Mitchell1 / Page 2

We Service and Repair all CRM Mitchell1 cars

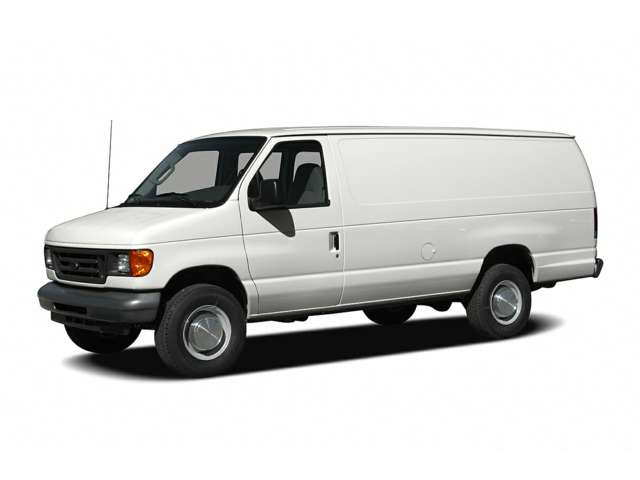
  • 2005 Ford Econoline

    Ford Econoline
    Mileage
    247,785
    Service Date
    3/7/2024
    Services Performed
    • Install data scanner and engine analyzer. Run tests on the fuel, ignition, and computer control systems. Retrieve fault codes from the processors memory. Codes exist in the system for misfire on cylinders 7 and 8. Perform all necessary pin point tests checking the wiring, grounds, relays, and related circuit components to isolate the problem to number 7 and 8 had water in with coil, spark plug has no electrode left. Replace the the 2 spark plugs and install 2 used coils.
     
    Julius L. gave our service a 5 star review on 3/7/2024
  • 2016 Mazda 6

    Mazda 6
    Mileage
    107,254
    Service Date
    3/5/2024
    Services Performed
    • Check the vehicles under hood fluid levels and remove the oil fill cap and breather assemblies (where applicable) Remove the vehicles engine oil drain plug, and drain the contents of the engines oil pan or sump. Remove the filter assembly and clean the sealing surfaces of the housing for reinstallation. On cartridge equipped vehicles, replace the housing O rings and clean the debris from the housing and relief valves. Lubricate the O rings on the housing and or the filter assembly and replace the filter or element. Clean and inspect the oil drain plug gasket, and check the threads in the engines oil pan. Torque the plug to the manufacturers specification using a new gasket where required. Clean the grease zerks to remove debris, and lubricate all accessible fittings on the vehicles steering, suspension, driveline and chassis components. Check and or set the tire pressures and relearn the TPMS system where required. Fill the engine with the manufacturers specified type, grade, and viscosity engine oil and verify level after purging the new filter. Check and or top off all low fluid levels and reset the maintenance reminder system where applicable. Note. Some vehicles maintenance reminders do not take on initial reset. If your maintenance light happens to come on following an oil service, please give us a call so we can correct it.
     
    Edward D. gave our service a 5 star review on 3/6/2024
  • 2013 Lexus GS 350

    Lexus GS 350
    Mileage
    66,838
    Service Date
    2/7/2024
    Services Performed
    • Road test vehicle and check for brake pulsation, brake noise, wheel alignment pull, steering wheel centering, suspension stability, tire balance condition, transmission shifting and or clutch engagement, and engine performance concerns. Visually inspect tires for wear resulting from alignment, or balance problems. Check front and rear suspension components for wear at all visible bushings, pivots, sockets, and joints. Check the condition of all drive belts, radiator hoses, heater hoses, brake hoses, and verify level and condition of engine coolant is good. Check engine, transmission, final drive, and differentials for any oil leaks. Check CV drive axle boots for cracks or tears. Check ignition system components consisting of plugs, ignition wires, coils, and or cap and rotor if applicable. Check exhaust system fittings, clamps, and gaskets for leaks or damage and verify condition and levels of power steering fluid, brake fluid, transmission fluid, and differential or final drive fluid. Test all vehicle exterior lights for illumination, turn signal operation, and emergency flasher operation. Hook vehicles components to the VAT45 digital analyzer. Perform a full electrical system diagnostic including a complete analysis of starting and charging system components; vehicle battery (connections and cables), alternator output (belt tension and condition), and starter operation.
    • DRIVER'S FLOOR MAT – CHECK – [Check installation of driver's floor mat. Only use the driver's floor mat designed specifically for the model and model year of the vehicle. Always properly secure the driver's floor mat using the retaining hooks. Never install another floor mat on top of the existing driver's floor mat. Never install the driver's floor mat upside down.] AUTOMATIC TRANSAXLE LINKAGE & CONTROLS – INSPECT AXLE SHAFT BOOTS – INSPECT – [Inspect axle boots and clamps for cracks, deterioration and damage. Replace any deteriorated or damaged parts and, if necessary, repack the grease.] BALL JOINT & DUST COVERS – INSPECT – [Check the suspension and steering linkage ball joins for looseness and damage. Check all dust covers for deterioration and damage. Replace any deteriorated or damaged parts.] BODY COMPONENTS – INSPECT – [Visually inspect for corrosion, scratches and other damage. Check outer body panels, inner panels of the hood and doors, and underneath the vehicle. Apply touch-up paint to any chips and scratches or have them repaired.] BRAKE HOSES – INSPECT – [Visually inspect for proper installation. Check for chafing, cracks, deterioration and signs of leaking. Replace any deteriorated or damaged parts.] BRAKE LINE PIPES – INSPECT – [Visually inspect for proper installation. Check for chafing, cracks, deterioration and signs of leaking. Replace any deteriorated or damaged parts.] BRAKE PADS, CALIPERS & ROTORS – INSPECT – [Measure thickness and runout of brake rotors.] DRIVE BELTS – INSPECT ENGINE COOLING SYSTEM HOSES & CLAMPS – INSPECT EXHAUST PIPES & MOUNTS – INSPECT – [Visually inspect the exhaust pipes, muffler and hangers for cracks, deterioration and damage. Start the engine and listen carefully for any exhaust gas leakage. Tighten connections or replace parts as necessary.] FUEL SYSTEM – INSPECT – [Inspect fuel lines and connections, fuel tank band and fuel tank vapor vent system hoses, fuel tank cap gasket. Visually inspect for corrosion, damage, cracks and loose or leaking connections. Tighten connections or replace parts as necessary.] RACK AND PINION ASSEMBLY – INSPECT REAR AXLE FLUID – INSPECT STEERING GEAR/RACK – INSPECT – [Check for damage/leaks.] STEERING LINKAGE & BOOTS – INSPECT – [With the vehicle stopped, check for excessive freeplay in the steering wheel. Inspect the linkage for bending and damage and the dust boots for deterioration, cracks and damage. Replace any damaged parts.] TRANSFER CASE FLUID – INSPECT – [Inspect for signs of leakage.] AIR CLEANER/ELEMENT – REPLACE BATTERY – REPLACE – Smart Key Battery BRAKE FLUID – REPL
     
    Angel A. gave our service a 5 star review on 2/7/2024
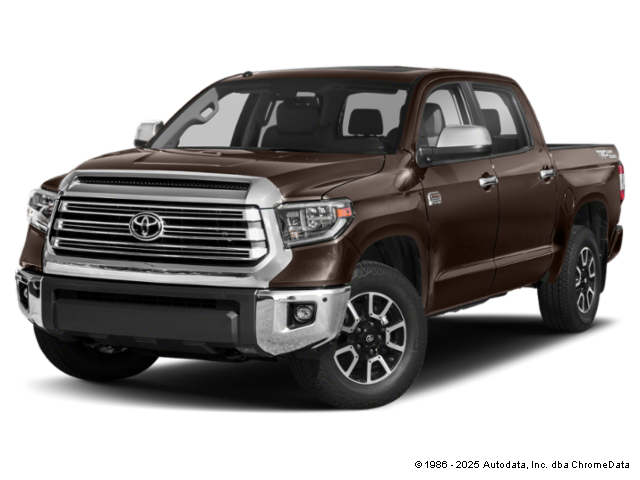
  • 2020 Toyota Tundra

    Toyota Tundra
    Mileage
    44,706
    Service Date
    1/30/2024
    Services Performed
    • Check the vehicles under hood fluid levels and remove the oil fill cap and breather assemblies (where applicable) Remove the vehicles engine oil drain plug, and drain the contents of the engines oil pan or sump. Remove the filter assembly and clean the sealing surfaces of the housing for reinstallation. On cartridge equipped vehicles, replace the housing O rings and clean the debris from the housing and relief valves. Lubricate the O rings on the housing and or the filter assembly and replace the filter or element. Clean and inspect the oil drain plug gasket, and check the threads in the engines oil pan. Torque the plug to the manufacturers specification using a new gasket where required. Clean the grease zerks to remove debris, and lubricate all accessible fittings on the vehicles steering, suspension, driveline and chassis components. Check and or set the tire pressures and relearn the TPMS system where required. Fill the engine with the manufacturers specified type, grade, and viscosity engine oil and verify level after purging the new filter. Check and or top off all low fluid levels and reset the maintenance reminder system where applicable. Note. Some vehicles maintenance reminders do not take on initial reset. If your maintenance light happens to come on following an oil service, please give us a call so we can correct it.
    • Remove the four tires from the vehicle, and clean the wheel studs, hub flanges, and the rims centric. Check the vehicles braking system components for wear, remaining brake material, and signs of pending issues. Reinstall the tires onto the vehicle in their best suited locations based on overall wear, torquing all lugs to factory specification. Inflate all tires to the manufacturers suggested pressure, and visually assess the tread for abnormal wear which may indicate a need for a wheel alignment. Reset the vehicles tire pressure monitor sensor locations where required, using the factory approved TPMS (Tire Pressure Monitoring) system, scan tool. Road test the vehicle and confirm there is no abnormal handling characteristics following the rotation. Note: Some vehicles may have a slight drift following a tire rotation. This is due to a pattern that developes in some tires due to excessive time in one location. This condition should improve as the tread conforms to the new location / alignment angle. If drifting would not improve, sometimes an alignment or a cross rotation is required.
     
    Carl S. gave our service a 5 star review on 1/30/2024
  • 2012 Toyota RAV4

    Toyota RAV4
    Mileage
    128,479
    Service Date
    1/18/2024
    Services Performed
    • Check the vehicles under hood fluid levels and remove the oil fill cap and breather assemblies (where applicable) Remove the vehicles engine oil drain plug, and drain the contents of the engines oil pan or sump. Remove the filter assembly and clean the sealing surfaces of the housing for reinstallation. On cartridge equipped vehicles, replace the housing O rings and clean the debris from the housing and relief valves. Lubricate the O rings on the housing and or the filter assembly and replace the filter or element. Clean and inspect the oil drain plug gasket, and check the threads in the engines oil pan. Torque the plug to the manufacturers specification using a new gasket where required. Clean the grease zerks to remove debris, and lubricate all accessible fittings on the vehicles steering, suspension, driveline and chassis components. Check and or set the tire pressures and relearn the TPMS system where required. Fill the engine with the manufacturers specified type, grade, and viscosity engine oil and verify level after purging the new filter. Check and or top off all low fluid levels and reset the maintenance reminder system where applicable. Note. Some vehicles maintenance reminders do not take on initial reset. If your maintenance light happens to come on following an oil service, please give us a call so we can correct it.
     
    Sue S. gave our service a 5 star review on 1/19/2024
  • 2017 Toyota RAV4

    Toyota RAV4
    Mileage
    101,503
    Service Date
    1/17/2024
    Services Performed
    • Remove calipers, clips, and bracket assemblies. Remove the rear disc brake pads and clean and lubricate the caliper slides. Disassemble the rear emergency brake components, and clean and lubricate all associated hardware and linkages. Reassemble the emergency brake assemblies, and deglaze the emergency brake shoes. Set the shoe width to fit the inside diameter of the rotor assemblies, and verify the adjustment. Replace the rear brake rotors and install new brake pads. Perform all necessary system adjustments and vacuum bleed the brake calipers. Top off the master cylinder to proper level, and road test vehicle.
     
    Esther G. gave our service a 5 star review on 1/19/2024
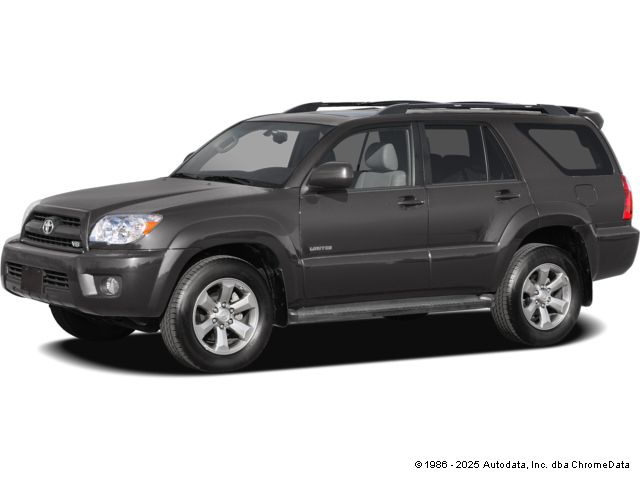
  • 2007 Toyota 4Runner

    Toyota 4Runner
    Mileage
    206,004
    Service Date
    1/16/2024
    Services Performed
    • Remove the vehicles transmission oil drain plug, and drain the contents of the transmission oil pan. Clean and inspect the transmission drain plug gasket, and check the threads in the transmission oil pan. Torque the plug to the manufacturers specification using a new gasket where required. Fill the transmission with the manufacturers specified type of automatic transmission fluid. Run the engine to circulate the fluid through the transmission. Road test the vehicle and top off the fluid as required to bring the level to its 'hot' specification. Reset the maintenance reminder system where applicable.
    • Remove the air box and or upper and lower deflector assemblies to gain access to the transmission cooler lines. Remove all hardware and clamps necessary to remove the cooler lines from the vehicles drive line components. Remove the protector tabs from the radiator, auxiliary cooler, and transmission assembly, and clean the exterior of the connections to prevent foreign material from entering the system. Remove the lock / retainer clips and release the cooler lines from their components. Inspect the sockets and clips for damaged or leaking O rings that would prevent sealing of the replacement lines. Install the new cooler lines and fit into position engaging all retaining clips, and reinstalling the lock tabs. Reinstall the bracketry to secure the lines into their factory locations. Reinstall the air box and or deflectors, and top off the transmission to the proper level with the proper type automatic transmission fluid. Road test the vehicle to verify correct operation of the transmission and check for leaks.
     
    Donald H. gave our service a 5 star review on 1/18/2024
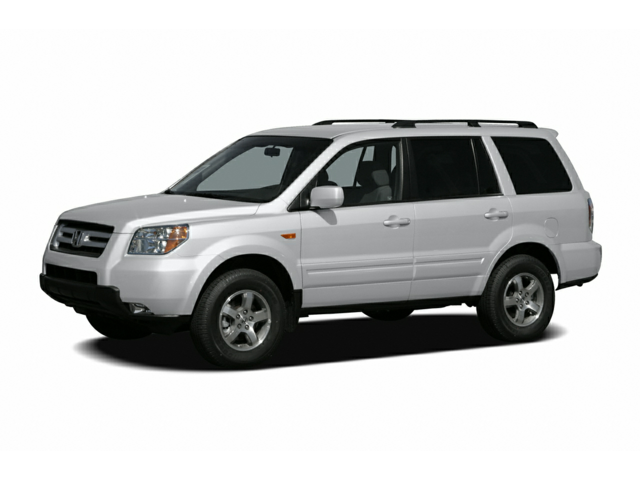
  • 2006 Honda Pilot

    Honda Pilot
    Mileage
    101,527
    Service Date
    1/10/2024
    Services Performed
    • Install data scanner and engine analyzer. Run tests on the fuel, ignition, and computer control systems. Retrieve fault codes from the processors memory. Codes exist in the system for P0300, P0301, P0303, P0304, P0306. Perform all necessary pin point tests checking the wiring, grounds, relays, and related circuit components to isolate the problem to <<<<<<<<>>>>>>>>.
     
    Tyler D. gave our service a 5 star review on 1/10/2024
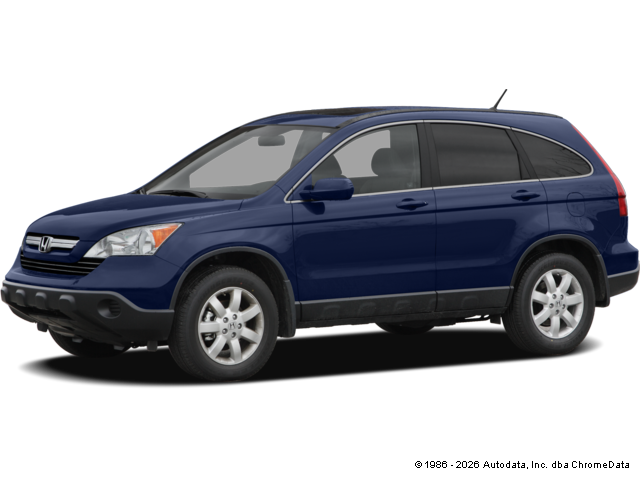
  • 2008 Honda CR-V

    Honda CR-V
    Mileage
    232,121
    Service Date
    1/8/2024
    Services Performed
    • Remove necessary brackets and covers to access the vehicles battery. Remove both battery cables and clean the terminal ends. Remove the existing battery and clean all surrounding components and the battery tray to remove any residual acid. Apply corrosion inhibitor to the tray and install a new battery. Reinstall hold down and tighten the battery cables. Check all electrical system components for proper operation and perform a full electrical system analysis.
    • Check the vehicles under hood fluid levels and remove the oil fill cap and breather assemblies (where applicable) Remove the vehicles engine oil drain plug, and drain the contents of the engines oil pan or sump. Remove the filter assembly and clean the sealing surfaces of the housing for reinstallation. On cartridge equipped vehicles, replace the housing O rings and clean the debris from the housing and relief valves. Lubricate the O rings on the housing and or the filter assembly and replace the filter or element. Clean and inspect the oil drain plug gasket, and check the threads in the engines oil pan. Torque the plug to the manufacturers specification using a new gasket where required. Clean the grease zerks to remove debris, and lubricate all accessible fittings on the vehicles steering, suspension, driveline and chassis components. Check and or set the tire pressures and relearn the TPMS system where required. Fill the engine with the manufacturers specified type, grade, and viscosity engine oil and verify level after purging the new filter. Check and or top off all low fluid levels and reset the maintenance reminder system where applicable. Note. Some vehicles maintenance reminders do not take on initial reset. If your maintenance light happens to come on following an oil service, please give us a call so we can correct it.
     
    Walt A. gave our service a 5 star review on 1/8/2024
  • 2015 Jeep Cherokee

    Jeep Cherokee
    Mileage
    90,910
    Service Date
    1/6/2024
    Services Performed
    • Drain engine coolant and flush system in both directions with water to remove sediment. Disconnect electrical power and remove the air intake, emissions control harness, injection system components, and necessary sensors to access the engines intake manifold. Remove the engines intake manifold and clean all sealing surfaces for inspection. Remove the attaching hardware for the existing oil cooler assembly and disconnect any electrical connectors. Replace the oil cooler assembly and install all necessary gaskets and o-rings. Tighten the hardware to specification and install a new oil filter into the new oil cooler housing. Check the intake manifold surfaces for warpage and install the new lower intake gaskets. Clean fuel line inlets and replace o-ring seals. Reinstall all removed brackets and accessories, and clean and tighten all removed harness terminals.. Run the engine on the flush equipment until the engine coolant is clean and the acidity is at an acceptable level. Top off the cooling system to capacity with specified amount and type of new engine coolant. Run engine to circulate coolant and check freeze point and acidity to insure a proper mixture is in the system. Run engine to operating temperature and purge any remaining air from the system. Check to verify that the electric cooling fans are operating within their specified temperature range. Check system for leaks and road test. NOTE: If the system develops an air pocket, the coolant level may decrease slightly. If this occurs, the customer should return to have the system topped off. Road test vehicle and rescan processor to insure all systems are working properly, recheck all fluid levels, heat output, and check the system for leaks.
     
    Jason B. gave our service a 5 star review on 1/6/2024